Get 10% descount on first project
How to Perfectly Plasterboard a Ceiling: Pro Tips and Tricks
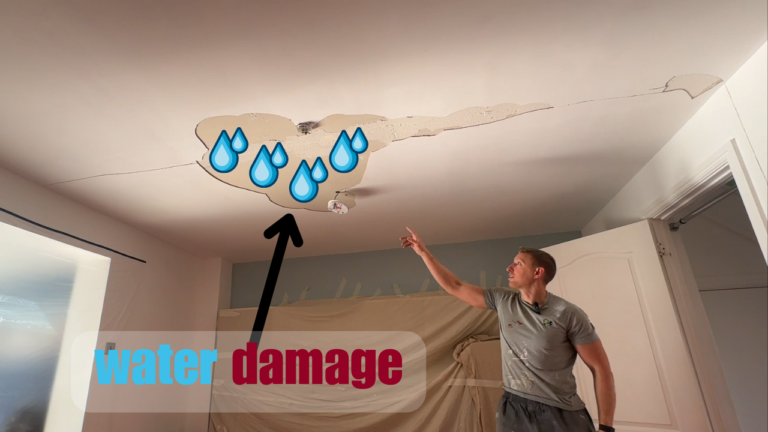
Plasterboarding a ceiling is a vital step in home renovation projects, ensuring a smooth and stable surface for finishing touches. Whether you’re tackling a DIY project or are a seasoned professional, getting it right the first time is key to a successful outcome. In this guide, we’ll walk you through the process of plasterboarding a ceiling, sharing expert tips, essential tools, and techniques to avoid common mistakes.
Step 1: Choosing the Right Starting Point
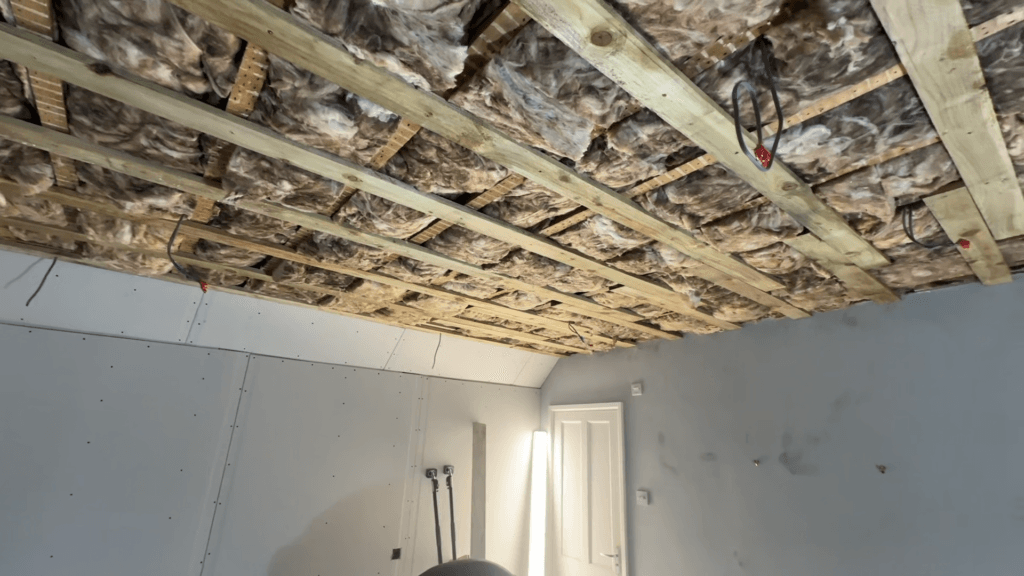
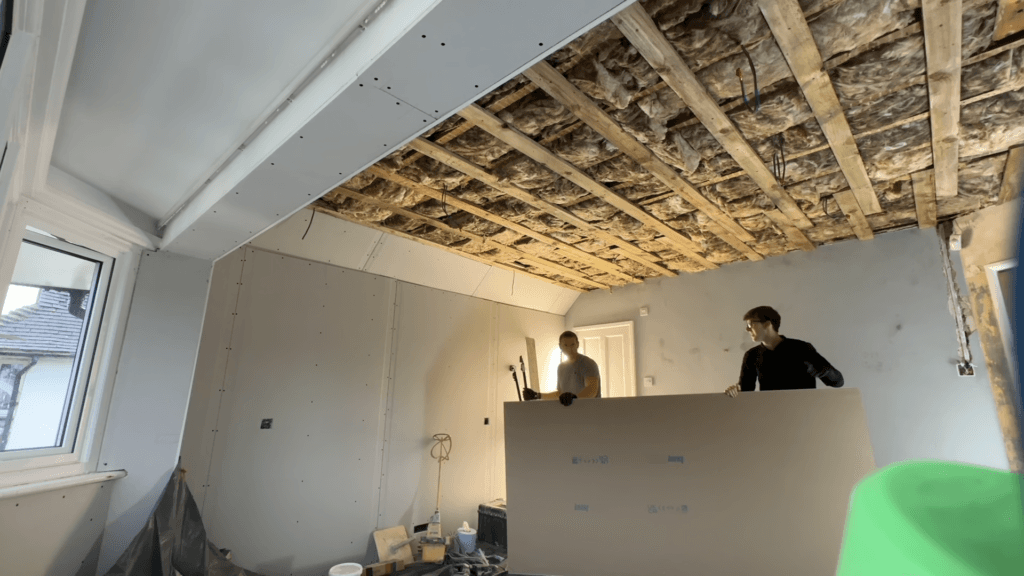
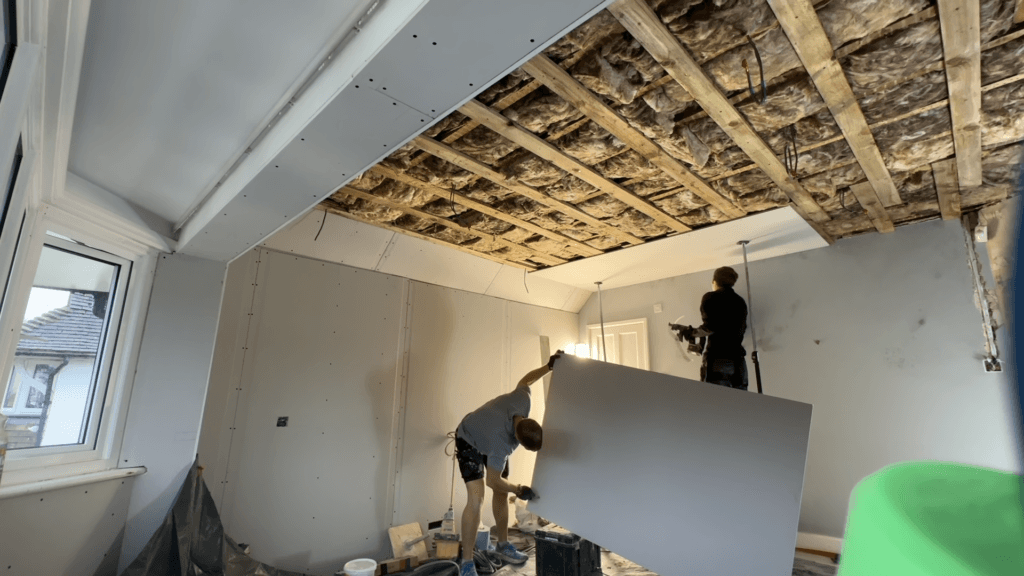
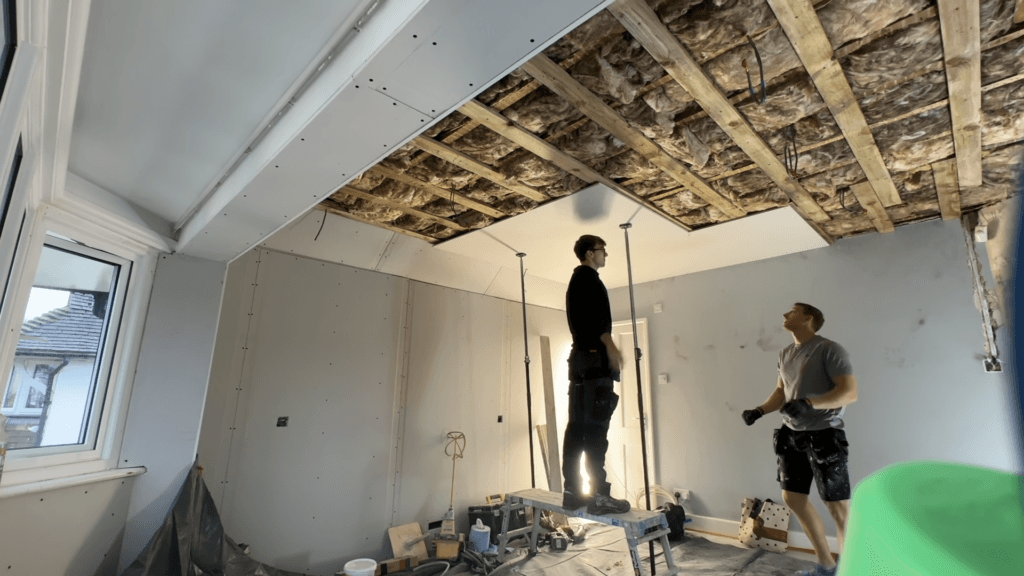
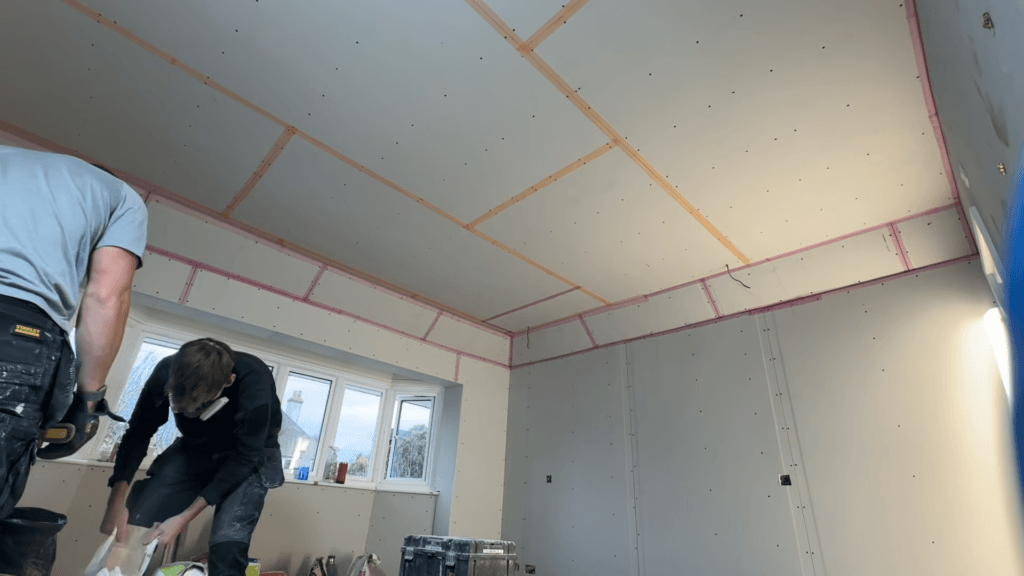
The first step in plasterboarding a new ceiling is to locate the most square corner. An odd angle or an unsymmetrical corner can make the entire project challenging. After checking all the corners, opt for the one that aligns best with the original wall or existing framework.
In this project, the chosen corner allowed for better alignment of the boards, which were 2.4 meters long and 1.2 meters wide. Always run your boards in the opposite direction of the joists or battens for maximum support and stability.
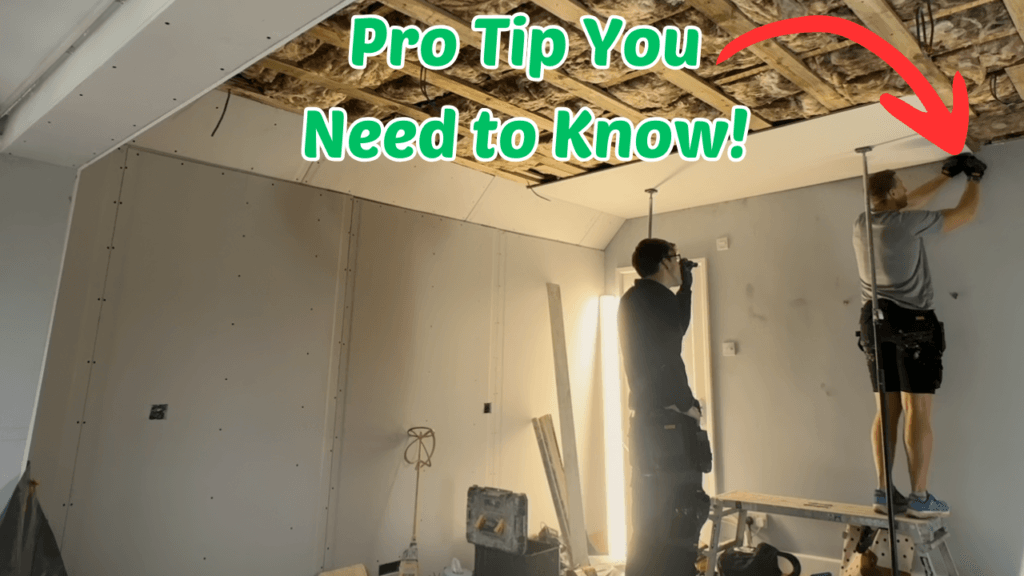
Step 2: Using the Right Tools
Having the right tools can make your plasterboarding project faster, safer, and more precise. Here’s a quick rundown of the tools highlighted in this project:
- DeWalt ISO Gun: A heavy-duty tool perfect for securing boards.
- Stanley Blades: Ideal for cutting plasterboard cleanly and efficiently. Choose a model with built-in storage for extra blades to save time.
- Carpenter’s Pencils: Useful for marking measurements, though keeping track of them can be tricky!
Pro Tip: Always start with a sharp blade at the beginning of the day to ensure clean and accurate cuts.
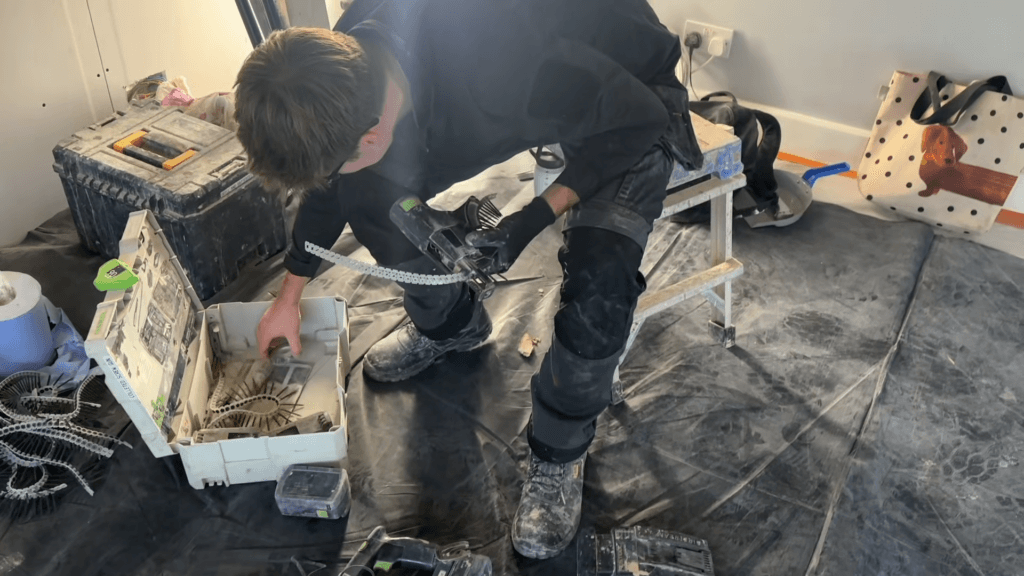
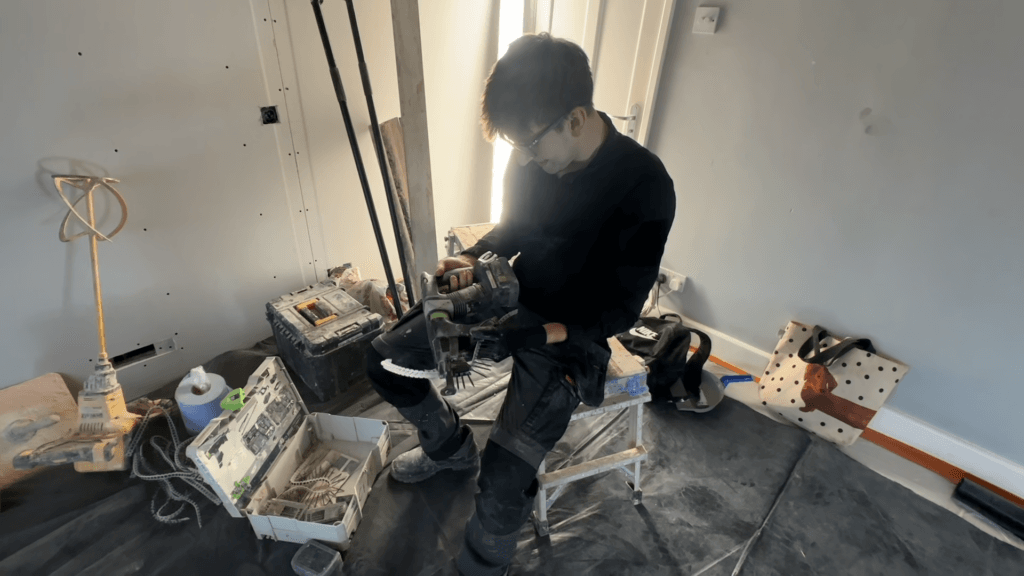
Step 3: Assembling Tools Correctly
When working with tools like the DeWalt ISO gun, assembly is crucial for functionality. For example, ensure that the head and body of the gun are aligned properly and secured. A well-assembled tool not only improves efficiency but also ensures safety during use.
Step 4: Cutting and Scribing for a Tight Fit
Cutting plasterboard to fit irregular spaces is a common challenge. Here’s how to get it right:
- Measure Twice, Cut Once: Use a pencil and tape measure to mark the area accurately.
- Scribing Technique: For irregular gaps, scribing helps achieve a snug fit. For example, when dealing with a gap that tapers from 2 inches to nothing, scribing ensures the board fits tightly and looks seamless.
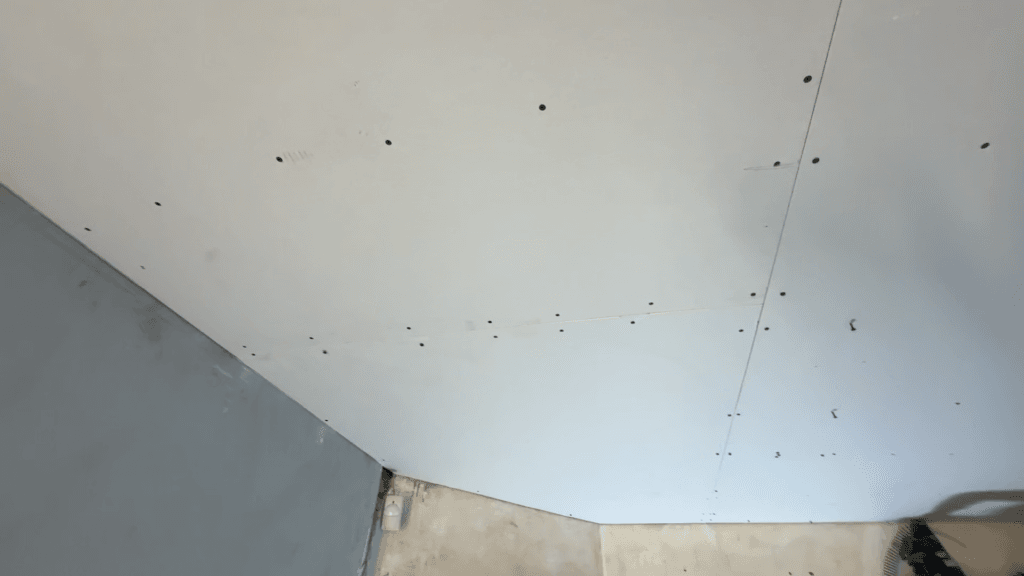
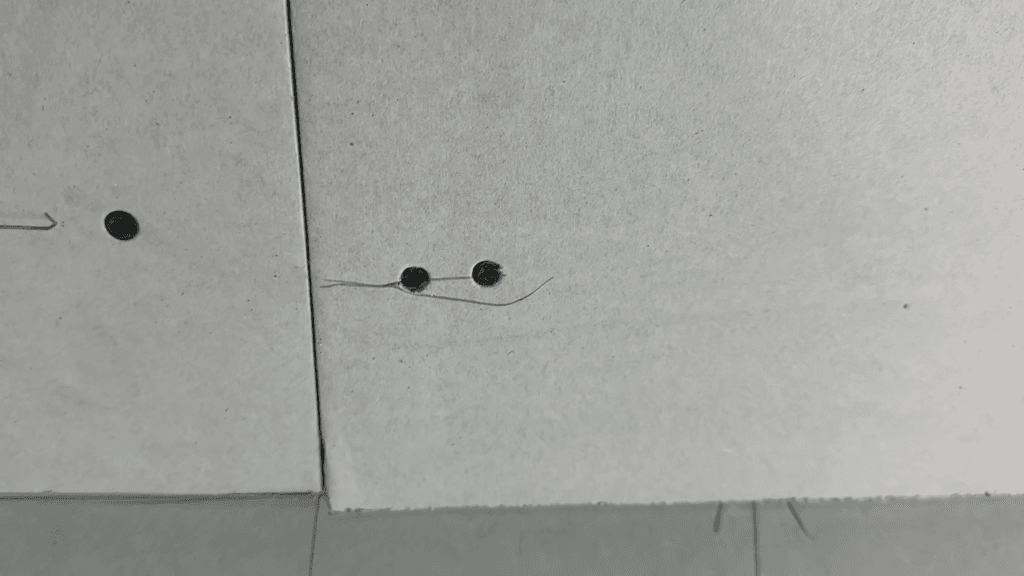
- Avoid Over-Screwing: Over-screwing can weaken the board. If you accidentally pierce the paper layer, place another screw next to it to maintain strength.
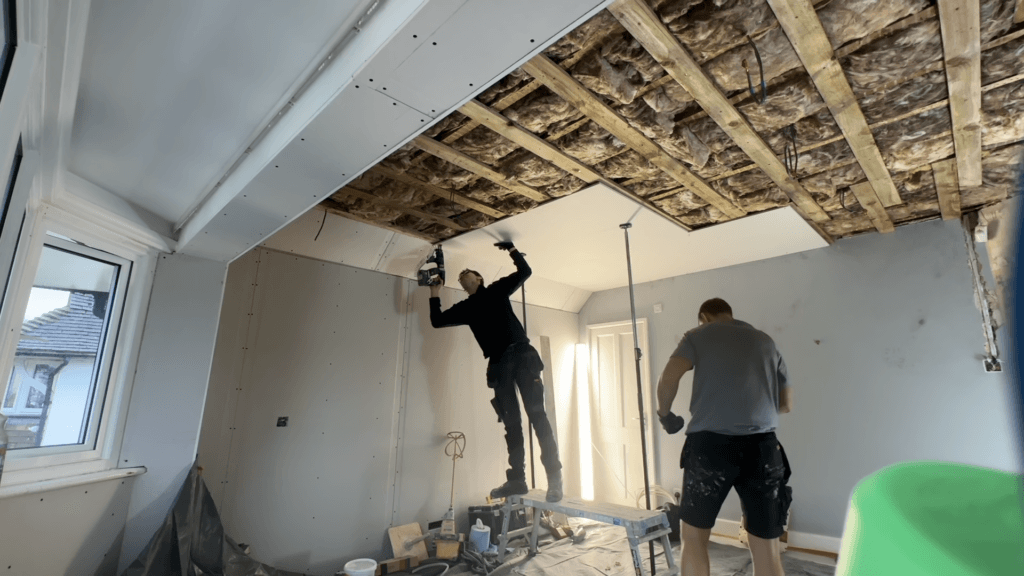
Step 5: Tips for Screwing Plasterboard
Securing plasterboards with screws may seem straightforward, but there’s a method to ensure durability:
- Place screws approximately every 200mm (7-8 screws per 1.2-meter board).
- Avoid driving screws too deep; piercing the paper layer reduces the board’s strength by 50%.
- Use fiber tape over compromised areas to prevent future issues.
Pro Tip: Always double-check that screws hit the joists or battens to maximize support.
Step 6: Cutting Out Holes for Fixtures
Cutting out holes for light switches, wires, or fixtures can be tricky. To simplify the process:
- Use a marker to outline the area.
- Employ a sharp Stanley blade for precise cuts.
- Test-fit the board before securing it to ensure the hole aligns perfectly with the fixture.

Troubleshooting and Common Mistakes
Even seasoned pros encounter challenges during plasterboarding. Here are some common issues and how to address them:
- Uneven Boards: Ensure that the joists or battens are level before attaching boards.
- Popped Screws: Use additional screws and fiber tape to reinforce weak spots.
- Crooked Cuts: Double-check measurements and use a straightedge for guidance.
Why High-Quality Tools Matter
Investing in reliable tools, such as a sturdy Stanley blade or a dependable DeWalt ISO gun, can significantly impact the quality of your plasterboarding. A sharp blade ensures clean cuts, while a robust screw gun makes securing boards effortless and precise.
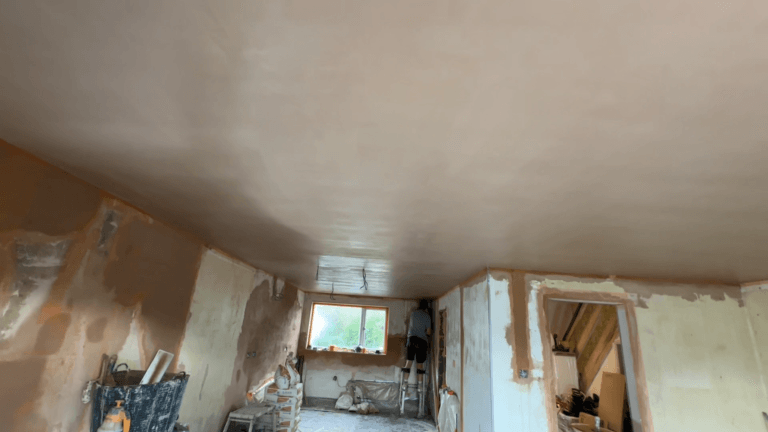
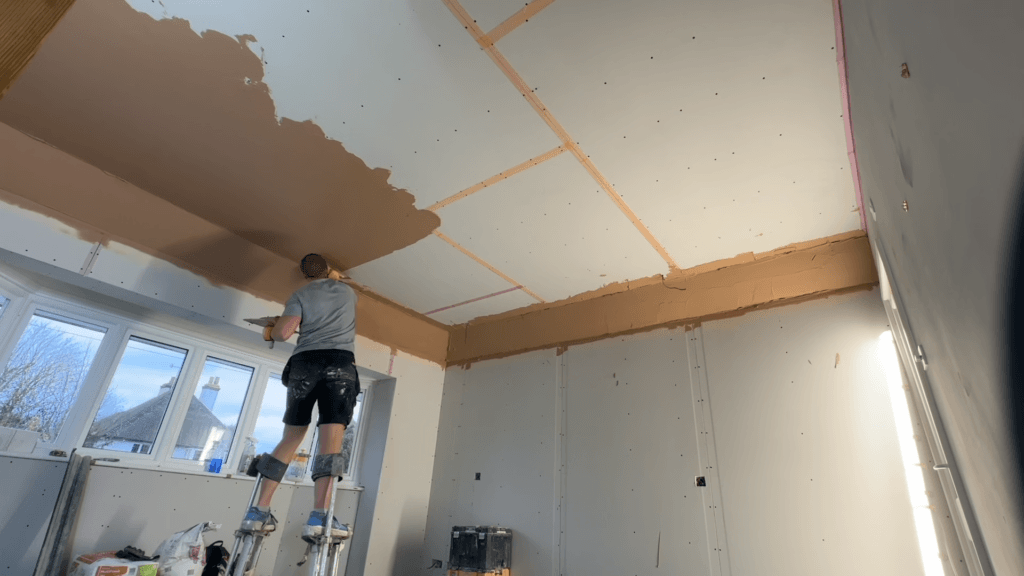
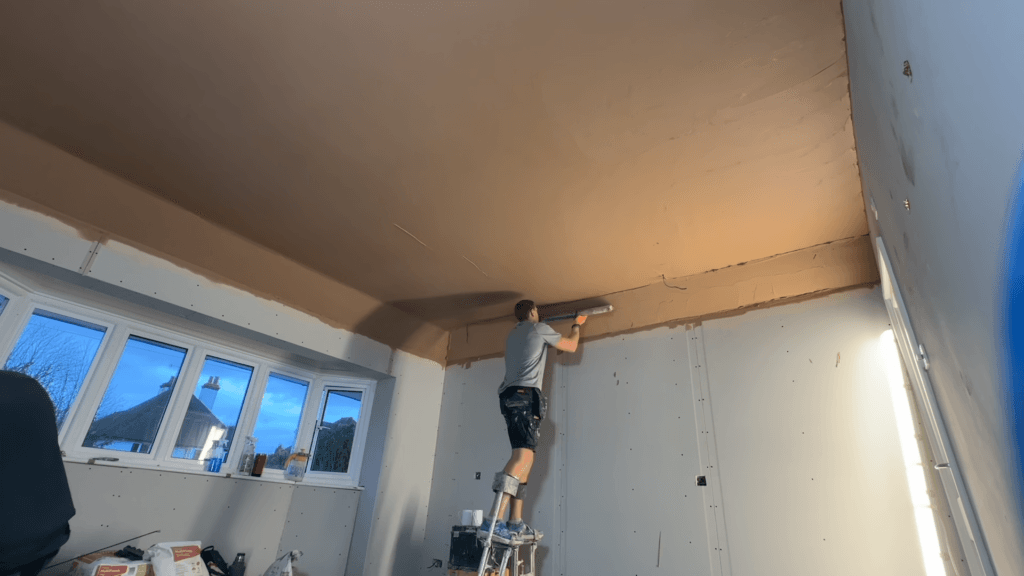
Final Touches: Ensuring a Professional Finish
Once all boards are installed, inspect the ceiling for gaps, uneven edges, or other imperfections. Address any issues with filler and sand down rough spots for a smooth, professional finish.
Why Plasterboarding Matters
Plasterboarding is more than just a step in renovation; it’s the foundation for a flawless ceiling. Properly installed boards not only enhance the aesthetic appeal but also improve the structural integrity of the ceiling.
Contact Us for a Free Quote in Guildford, UK
If you’re in Guildford or the surrounding areas and need help with plasterboarding or other home renovation projects, we’re here to help! Visit our Contact Us page to request a free quote for your project.
Subscribe for More Expert Tips
Enjoyed this guide? Don’t forget to subscribe to our YouTube channel (Daniel lee smith) for more construction tips, tutorials, and DIY advice. Whether you’re a homeowner or a professional, our videos are designed to help you achieve the best results every time.