Get 10% descount on first project
Transforming a Historic Flint Cottage: Full Ceiling and Insulation Upgrade

When it comes to renovating a historic home, especially one as unique as a flint stone cottage, every project brings its own set of surprises and challenges. In this blog, we walk you through a detailed ceiling and insulation upgrade carried out by skilled professionals, showcasing techniques in plaster repair, insulation installation, and transforming textured Artex ceilings into smooth, modern finishes.
If you love behind-the-scenes insights into heritage property renovations, this one’s for you.
Introduction: Breathing New Life into Old Walls
Historic properties have character—but that character often comes with quirks like uneven ceilings, outdated insulation, and decades-old plaster that’s seen better days. In this case, we were called to a charming old cottage with distinctive flint stone construction. The goal? Replace damaged plaster, upgrade insulation, and restore the ceiling to a smooth, modern finish while preserving the property’s rustic charm.
Let’s dive into the step-by-step process of this renovation, revealing the craftsmanship and thoughtful decisions behind every stage.
Tackling the Artex Ceiling: More Than Meets the Eye
Artex ceilings—known for their stippled, textured finish—were once all the rage. Today, however, most homeowners want a sleek, smooth ceiling. As we began to remove the old Artex, we discovered it had already been plastered over once before. But further inspection revealed something more troubling: a visible bulge and a hole caused by previous water damage.
Step-by-Step Ceiling Repair
- Assessment & Exploration:
Carefully widened the hole to inspect the extent of damage without being too invasive. - Cutting a Clean Section:
Used a multi-tool to cut out a rectangular portion of the ceiling for easy replacement. - Installing a New Board:
Replaced the damaged area with new plasterboard, choosing 12.5 mm thickness for better durability. - Vapor Barrier Consideration:
Opted for foil-backed plasterboard where possible to serve as a vapor barrier, preventing future damp or mold.
This attention to detail not only addressed the structural concerns but ensured a long-lasting, energy-efficient solution.
Insulation Upgrade: Modern Warmth for a Classic Home
Next, we turned our attention to the external walls. The existing plaster was blown and crumbling—especially around older wooden studs that had been retrofitted over the years.
Why Upgrade Insulation?
Older homes, particularly stone-built cottages, suffer from poor thermal performance. A major goal here was to enhance the insulation without compromising the building’s aesthetic.
What We Did:
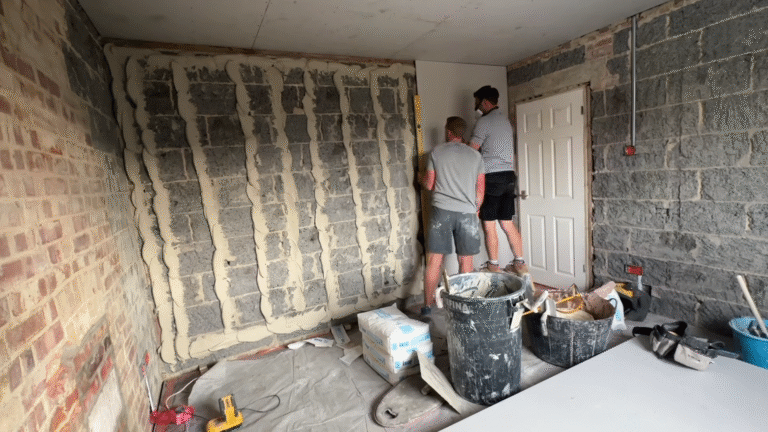
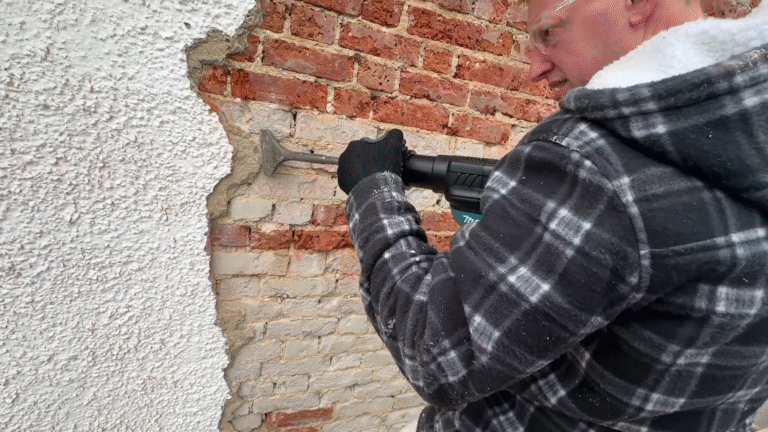
- Stripped Back to Studs:
Removed old lime and lath plaster to expose the original structure and prep for modern insulation. - Installed 50–55mm Insulated Plasterboard:
Applied dot-and-dab thermal boards on external walls to drastically improve heat retention. - Secured with Mechanical Fixings:
Ensured strong adherence by screwing into hidden timber behind the walls—a lucky break that made the process easier. - Plaster Finish:
Once insulation was in, walls were skimmed with fresh plaster to create a clean finish ready for decoration.
Dealing with the Unexpected: Original Lime Plaster and Sills
As with any renovation in an older home, surprises are inevitable. Once the team installed the insulation, they realized the added depth conflicted with existing window sills. This meant stripping off even more original lime plaster and timber battening—a move that, while extra work, opened up the opportunity to further improve the insulation and wall alignment.
Plastering to Perfection: The Ceiling Makeover
Once all boards were in place and the ceiling repaired, it was time to smooth over the heavily textured Artex.
Plastering Steps:
- Preparation:
Used protective coverings and ensured the room was clear for stilts—essential for working on large ceilings safely. - Two-Coat Application:
Mixed around three bags of plaster for the first coat across 20+ square meters. - Flattening & Troweling:
After letting the first coat settle, a wet trowel technique helped remove air bubbles and smooth over the RX lines. - Final Polish:
Successive passes with wet and dry trowels gave the ceiling a pristine, flat finish—perfect for decorating.
Preserving Charm: Flint Walls and Framed Features
One of the highlights of this project was the reveal of original flint stone walls—hidden behind decades of plaster. The homeowner loved this discovery and asked for the flint to be left exposed and framed, turning it into a feature that celebrates the property’s history.
Wrapping Up: Results That Speak for Themselves
The final result? A stunning blend of old and new. The room now boasts:
- Smooth, modern ceiling finishes
- Insulated, thermally efficient walls
- Framed flint features that add character
- A clean slate for painters and decorators to work their magic
It’s a testament to how thoughtful renovation can breathe new life into a historic structure—making it not only more livable but also more beautiful.
Why This Matters: Sustainable Comfort in Period Homes
Renovating an old cottage isn’t just about aesthetics. It’s about:
- Energy Efficiency:
Modern insulation drastically reduces heating bills and carbon footprint. - Health & Safety:
Replacing compromised plaster prevents future issues like damp and mold. - Longevity:
Using vapor barriers and quality materials ensures the renovation will last for decades.
Final Thoughts: A Job Well Done
This ceiling and insulation upgrade was more than just a facelift—it was a structural and thermal transformation that honored the history of the home while preparing it for the future.
Next?
If you’re inspired by this project and planning your own renovation—whether it’s an old cottage or a modern home—don’t hesitate to get in touch! We’d love to help turn your vision into reality.
👉 Share this blog with someone who loves home improvement.
👉 Subscribe to our YouTube channel for more behind-the-scenes renovations.
👉 Contact us for professional plastering and insulation services in your area.


