Get 10% descount on first project
How to Overboard a Ceiling with Plasterboard: A Step-by-Step Guide for a Perfect Finish in Guildford

Overboarding a ceiling with plasterboard is a common yet crucial part of home renovations, ensuring a smooth, level surface for finishing work. Whether you’re looking to improve the aesthetics of your home or address issues like sagging or damaged ceilings, overboarding is an effective solution. In this guide, we’ll walk you through the process of overboarding a ceiling with plasterboard, providing tips, safety guidelines, and expert advice. If you prefer a more visual learning experience, check out our YouTube video on this topic here, hosted on our channel Daniellee Smith.
Why Overboard a Ceiling with Plasterboard?
Overboarding involves applying a new layer of plasterboard (also known as drywall) on top of an existing ceiling, often used when:
- The existing ceiling is damaged or uneven.
- You want to add insulation or soundproofing.
- The existing ceiling has old, cracked plaster that needs to be covered up.
- You are preparing a space for a fresh coat of plaster to give the ceiling a smooth, professional finish.
Overboarding can save time compared to removing an entire ceiling, and it is a less expensive and disruptive option for many homeowners in Guildford and surrounding areas.
Tools and Materials You’ll Need
Before you start the process of overboarding, it’s important to have the right tools and materials. Here’s a list of the essentials:
- Plasterboard Sheets: The most important material for overboarding. Measure the ceiling accurately to ensure you purchase the right number of boards.
- Multitool or Saw: A high-quality multitool, like the Milwaukee brand or DeWalt, is ideal for cutting plasterboard.
- Plastering Stilts: These handy tools make the job easier by reducing the need to constantly climb up and down ladders.
- String Line: Used to mark out the placement of the plasterboards.
- Measuring Tape: Essential for accurate measurements to ensure your plasterboards fit perfectly.
- Screw Gun or Drill: To securely attach the plasterboard to the ceiling joists.
- Dust Mask & Safety Gloves: Safety first! Always wear a dust mask and gloves when handling plasterboard and cutting it.


Step-by-Step Guide to Overboarding a Ceiling
Step 1: Find the Ceiling Joists
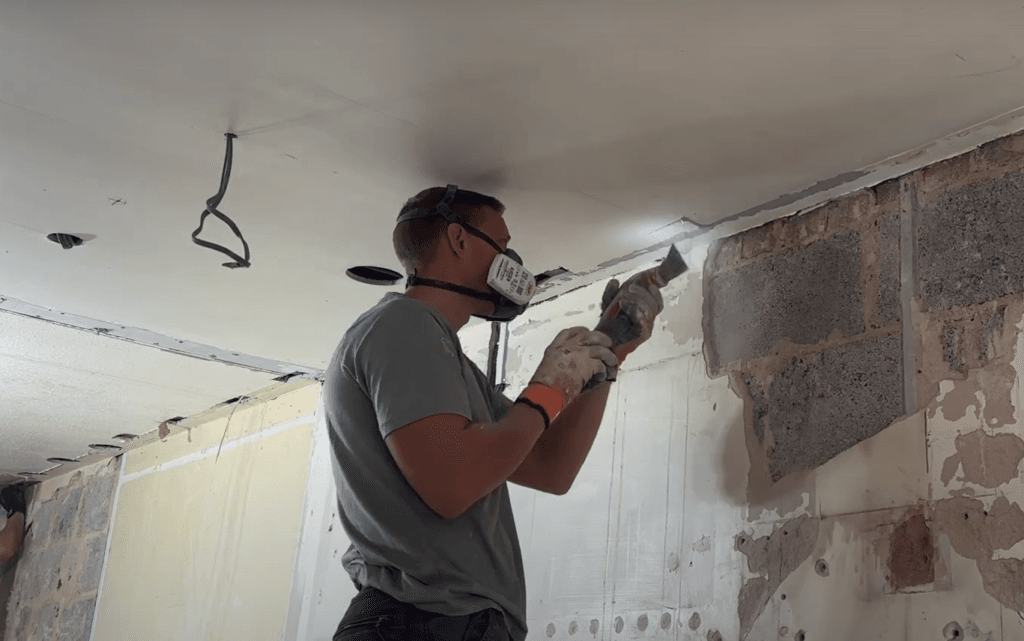
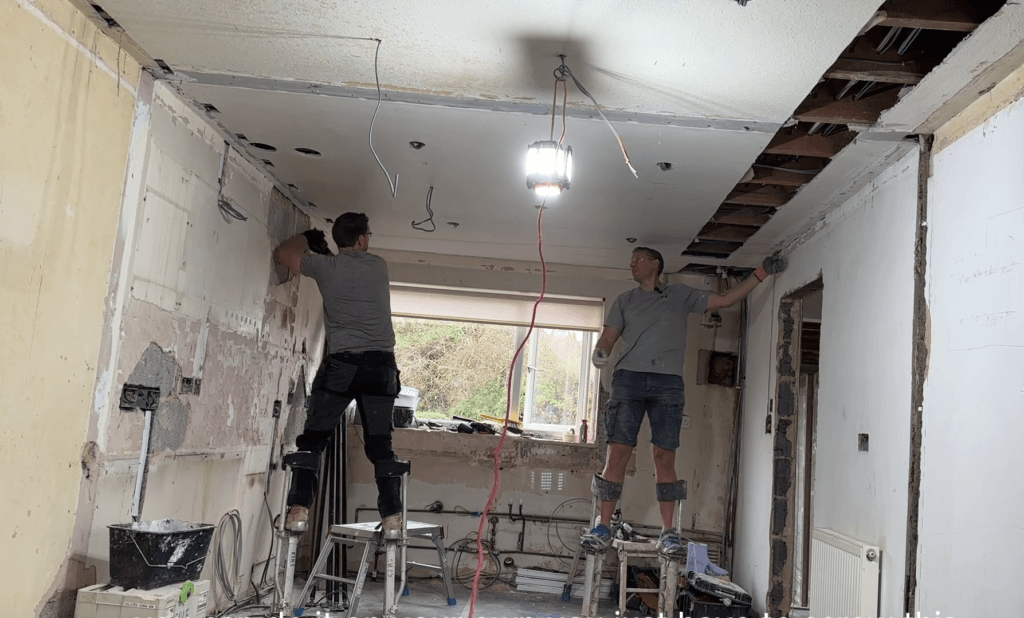
The first step in overboarding a ceiling is identifying where the ceiling joists are located. These joists provide the structural support for the plasterboard. The electrician in our video used a multi-tool to cut small squares around the joists, revealing them. By doing this, you’ll have a clear path for fixing the plasterboard securely.
Safety tip: Always wear protective gear when working above your head. Safety glasses and a dust mask are essential for protecting your eyes and lungs from dust particles.
Step 2: Use a String Line to Mark the Layout
Once you’ve identified the joists, use a string line to mark where the plasterboard sheets will go. This step is crucial for ensuring your plasterboards are aligned properly. The string line helps you create straight, evenly spaced lines across the ceiling, ensuring the boards are installed evenly.
If you’re working alone, you can screw the string line to one end of the room and pull it tight to the other side, securing it in place. If you have a helper, it will be easier to manage and faster to get the job done.

Step 3: Cutting and Fitting the Plasterboards
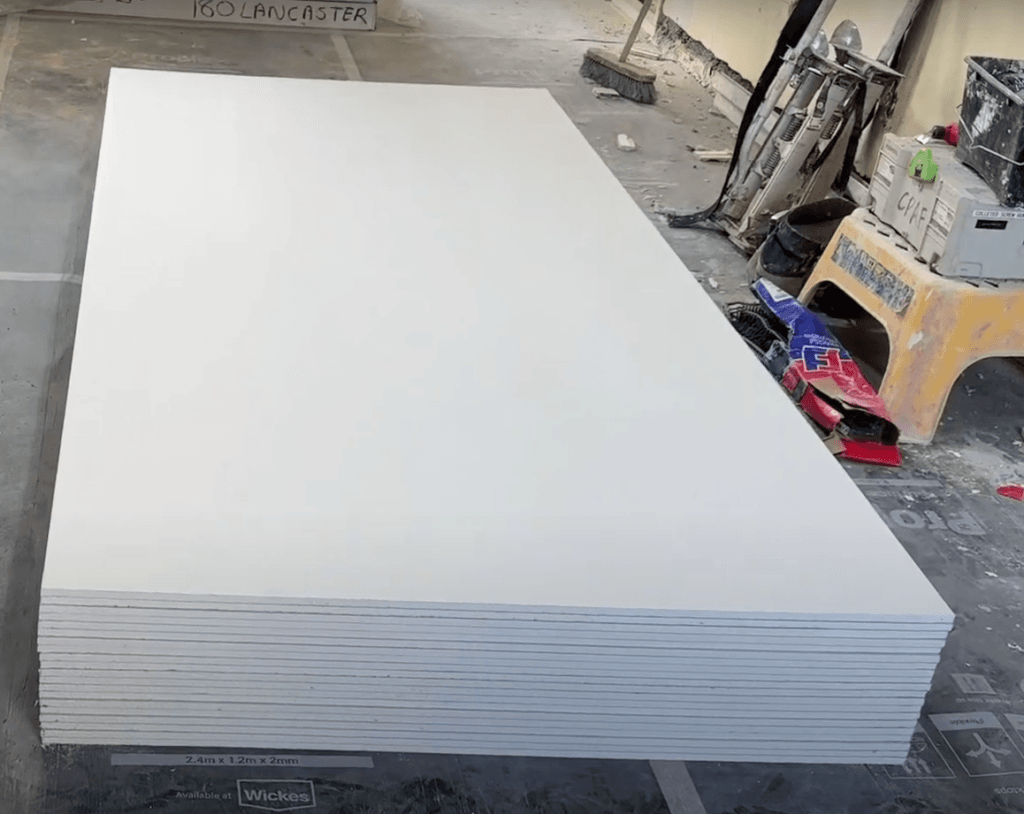
With your string line in place, it’s time to cut the plasterboards. Using a multi-tool like the Milwaukee or DeWalt model, cut the plasterboard to the required dimensions. Carefully measure each board before cutting to ensure a precise fit.
When cutting plasterboard, always use a Stanley knife for clean edges. If you’re dealing with awkward spaces or irregular cuts, a saw may be necessary. Cutting plasterboard can generate a lot of dust, so always wear your dust mask for safety.
Step 4: Install the Plasterboards
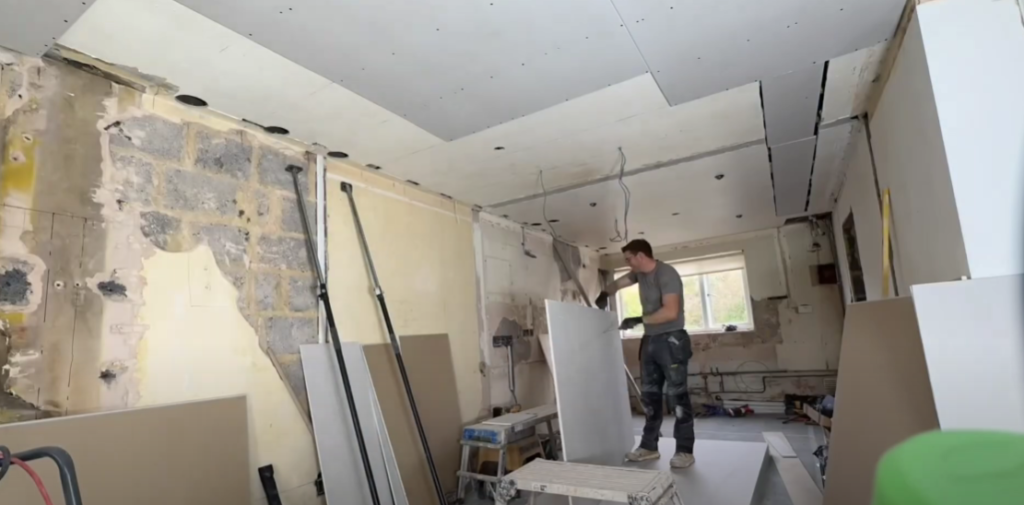
Once the plasterboards are cut to size, it’s time to start fixing them to the ceiling. Using a screw gun, secure the plasterboard into place, ensuring that the screws go into the joists for maximum hold. When installing plasterboard, aim for about seven screws per 1.2 meters of plasterboard to ensure that the boards are securely attached.
It’s important to stagger the joints in a brick pattern to reduce the risk of cracking along long seams. This method helps distribute the weight evenly and creates a stronger, more durable finish.
Step 5: Finish the Ceiling
After the plasterboards are securely in place, it’s time to finish the job. You can apply a skim coat of plaster to the joints and screw holes, ensuring a smooth, level surface. This will help cover any seams and imperfections, giving the ceiling a polished, professional finish.
Common Challenges and How to Overcome Them
While overboarding a ceiling is a relatively straightforward process, there are some common challenges you might encounter:
- Difficulty in Locating Joists: Sometimes, finding the joists can be tricky, especially if the ceiling is old or if the joists are spaced irregularly. Use a joist finder tool to help pinpoint the exact location.
- Uneven Ceilings: If the original ceiling is significantly uneven, it may require extra preparation before applying the plasterboard. You can use battening to create a level base for the plasterboard.
- Handling Large Sheets of Plasterboard: Plasterboard can be heavy and difficult to maneuver, especially on your own. If possible, recruit a friend or colleague to help. Plastering stilts can also be a great asset, as they allow you to work at height without the need for a ladder.
Why Choose Daniellee Plastering for Your Ceiling Overboarding in Guildford?
At Daniellee Plastering, we pride ourselves on providing expert plastering and overboarding services to homeowners in Guildford and the surrounding areas. With years of experience in the plastering industry, we know how to ensure your ceiling overboarding is done to the highest standard. Our team is dedicated to delivering a flawless finish every time, and we always prioritize safety and efficiency.
If you prefer a more visual guide to the overboarding process, check out our YouTube video titled “How to Overboard a Ceiling with Plasterboard – Step-by-Step Guide for a Perfect Finish” here. On our channel, Daniellee Smith, you’ll find more useful tutorials and tips on plastering, rendering, and home renovations.
Conclusion
Overboarding a ceiling with plasterboard is an excellent way to improve the look of a room, whether you’re renovating or simply addressing structural issues. By following the steps outlined in this guide, you can achieve a perfect finish while ensuring the safety and durability of your ceiling.
For homeowners in Guildford, Surrey, and the surrounding regions, Daniellee Plastering offers professional overboarding services that you can trust. Visit DanielleePlastering.com for more information or to schedule your next plastering project.
By incorporating targeted keywords like Guildford, ceiling overboarding, plasterboard, plastering services, and home renovations throughout this blog, we’ve optimized it for SEO. Additionally, linking to the video and mentioning the Daniellee Smith channel increases engagement and provides additional value to your readers.
Let me know if you’d like any further adjustments!

