Get 10% descount on first project
Perfect Finish: How to Apply the Final Layer of Silicone Base Coat Like a Pro
Applying a flawless final layer of silicone base coat is an essential skill for achieving smooth, professional-grade results in rendering projects. Whether you’re an experienced plasterer or a DIY enthusiast, this guide will walk you through each step of the process, ensuring a perfect finish every time.
In this tutorial, we will discuss key techniques, best practices, and the materials you need for success. By following these steps, you’ll also ensure your surfaces are primed for top coat application, resulting in long-lasting, visually appealing results.
This blog is tailored for audiences in Guildford, UK, and beyond, looking to enhance their rendering expertise.
Preparation Is Key
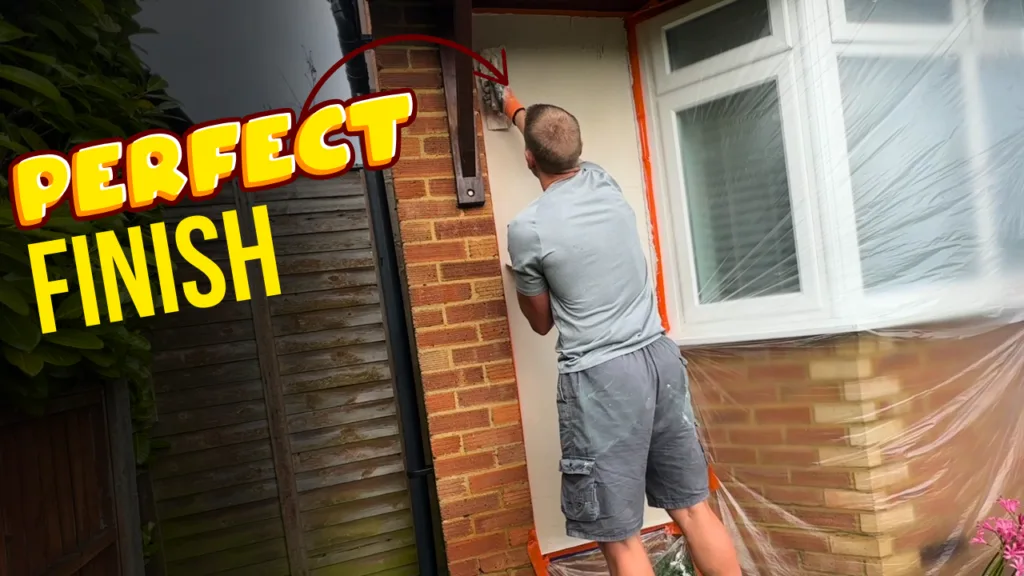
The first step in achieving a perfect finish starts with the right preparation. After the initial layer of silicone base coat has been applied, it needs time to dry and harden. Ideally, give it at least 20 hours. At this stage, it may feel firm yet slightly soft, making it the perfect time to refine it.
Inspect the Surface
Examine the dried base coat for imperfections such as trail lines or uneven areas. These blemishes can impact the final look of your project, especially when sunlight hits the surface. Using a trowel, scrape away any high points or excess material. Pay particular attention to edges, as these are prone to accumulating excess render.
Pro Tip: If the base coat has fully hardened (over several days), smoothing out imperfections becomes significantly harder. In such cases, apply a very thin new coat to rectify issues.
Check Your Tape
Before proceeding, inspect the masking tape around the edges. Ensure it hasn’t been buried or loosened during the previous application. Adjust as needed to ensure clean edges for the next layer.
Why Apply an Extra Thin Base Coat?
While some professionals may proceed directly to the top coat after the first layer of base coat, adding an additional thin layer provides a smoother, more consistent surface.
When the sun hits your wall, even minor imperfections can become noticeable. By applying an additional 1-2mm layer of silicone base coat, you can minimize these imperfections and create a flawless foundation for your top coat.
Guildford’s Climate Consideration: Surfaces in areas like Guildford may experience varying weather conditions. This extra layer ensures better durability and a visually appealing finish.
Mixing the Silicone Base Coat
Proper mixing is critical for achieving the desired consistency. Most silicone base coat products are designed to cover approximately 3 to 5 square meters per bag, depending on the thickness.
Mixing Instructions:
- Prepare Your PPE: Always wear personal protective equipment (PPE) when working with rendering materials.
- Mix Thoroughly: Use a paddle mixer to blend the base coat with water until lump-free.
- Let It Rest: Allow the mixture to sit for about 5 minutes. This rehydrates the product and ensures a smoother application.
- Remix: After resting, give it another thorough mix before application.
Why Resting Matters: The manufacturing process dries out the product significantly. Resting allows the material to rehydrate fully, improving its performance.
Application Techniques
The key to applying the final layer is achieving a thin, even coat with minimal trail lines.
- Start at the Top: Begin at the top of the wall and work your way down. This ensures a consistent application and prevents accidental drips on finished sections.
- Use a Flat Trowel: Keep the layer thin—no more than 1-2mm. Focus on spreading the material evenly and smoothing out imperfections as you go.
- Maintain Clean Tools: Regularly clean your trowel to prevent dried material from creating unwanted lines.
Pro Tip: Unlike internal plastering, where scraping sounds indicate an issue, the scraping sound when applying silicone base coat is normal and even desirable.
Handling Weather Challenges
The UK’s unpredictable weather, including in Guildford, can pose challenges during rendering projects. Silicone base coats are sensitive to moisture, so avoid working in wet conditions.
- Light Rain: If a brief rainstorm occurs, allow the surface to dry before resuming work.
- Shelter the Area: Use temporary covers to protect your work area from unexpected rain.
Final Steps Before the Top Coat
Once the final base coat layer is applied, let it dry thoroughly. A light scrape the following day ensures the surface is perfectly smooth and ready for the primer.
Primer Application:
Apply a top coat primer to the surface, which requires 12-24 hours to dry. This primer creates a strong bond between the base coat and the silicone top coat.
Why Choose a Silicone Render System?
Silicone render systems are highly durable and visually appealing. They offer flexibility, resistance to cracking, and superior water repellence—ideal for Guildford’s weather conditions.
Tools and Materials Checklist
- Silicone Base Coat: Ensure it matches your project’s specifications.
- Trowel: A high-quality trowel ensures smoother application.
- Paddle Mixer: For thorough and consistent mixing.
- PPE: Safety goggles, gloves, and a mask.
- GR Di Wipes: Perfect for cleaning tools and removing excess material.
Final Touches and Recommendations
By following these steps, you’ll achieve a perfectly smooth surface, primed for the top coat. The final result will not only look professional but also withstand the test of time.
Don’t forget to consider the overall aesthetics of your project. Silicone renders are available in various colors, allowing you to customize the finish to match your desired style.
Subscribe to “Perfect Finish” for More Expert Tips
For more in-depth tutorials and professional tips, check out our YouTube channel, Perfect Finish. Watch the video here and subscribe to stay updated on our latest content.
Perfect Finish is your go-to resource for rendering, plastering, and all things related to achieving flawless surfaces.
Transform your projects with the best practices shared here, and ensure your work stands out in Guildford and beyond!