Get 10% descount on first project
How to Repair Internal Cracks Like a Pro! A Step-by-Step Guide

Cracks in internal walls can be an eyesore and a persistent problem, especially in older properties. In this guide, based on Daniel Lee Smith’s YouTube video, we’ll walk you through a professional approach to repairing internal wall cracks effectively. Whether you’re a DIY enthusiast or a homeowner looking to understand the process, this step-by-step method will help you achieve a flawless finish.
Why Do Internal Cracks Appear?
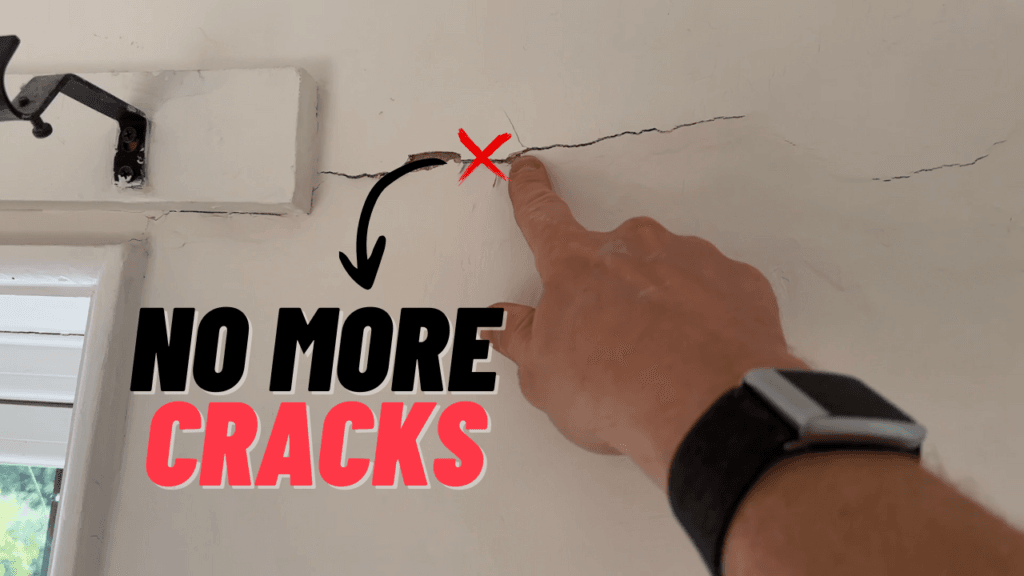
Internal cracks often result from settlement issues or external wall movement. Even after repairing the external surface, internal cracks may resurface, particularly in properties over a century old. Consistent repairs that fail to last may indicate deeper structural or environmental factors at play.

Step 1: Preparation and Assessment
- Identify Problem Areas:
Inspect the wall for visible cracks, including hairline ones. Note any recurring cracks that may need extra attention. - Fiber Tape Application:
Cover all cracks and blemishes with 4-inch wide fiber tape (pink scrim) for better coverage.- Pro Tip: Pink scrim is more manageable for larger areas, though it requires careful handling to avoid bubbling.
- Choose the Right Tools:
- Use a standard mixing paddle and an 18V drill for small batches of plaster.
- Keep tools like wallpaper scrapers or margin trowels handy for tight spaces.

Step 2: Mix and Apply the Plaster
- Mixing the Plaster:
For smaller areas (approximately 7 square meters), a small mixing paddle is sufficient. Ensure the plaster is smooth and lump-free. - Applying the First Coat:
- Start at the top and work downwards, applying a tight layer over the fiber tape to press it flat.
- Address any bubbles or twists in the tape to avoid them poking through the plaster later.
- Generous Coverage:
Old properties often have uneven walls. Apply a generous layer of plaster to even out the surface and soften natural lumps and bumps.

Step 3: Finishing Touches
- Second Coat:
After 15-20 minutes, apply a second coat for a smooth finish. Use a trowel to flatten the surface. - Wet Trowel Method:
- Allow the plaster to set slightly before using a wet trowel.
- Repeat the process with a second wet trowel for a polished look.
- Dry Trowel and Polish:
After 20-30 minutes, use a dry trowel and inspect for imperfections. Each pass ensures a closer-to-perfect finish.

Common Questions
- How long does the plaster take to dry?
Allow at least 7 days before painting for optimal results. - Can I speed up the process?
Avoid rushing. Proper drying ensures durability and prevents future cracks.
Why Choose Professional Plastering?
Repairing internal cracks may seem straightforward, but achieving a seamless finish requires experience, patience, and the right tools. If you’re unsure, consulting or hiring a professional ensures lasting results and prevents recurring issues.
Watch the Full Process on YouTube!
For a detailed walkthrough, watch the video on Daniel Lee Smith’s YouTube channel. If you enjoyed this guide, subscribe to Daniel Lee Smith for more plastering and rendering tutorials, tips, and tricks!


