Get 10% descount on first project
Professional Rendering Repairs with Daniel Lee Plastering and Rendering

Welcome to another episode from Daniel Lee Plastering and Rendering, your trusted source for plastering and rendering expertise. In today’s project, we tackle a challenging yet rewarding render repair. From removing damaged sections to applying reinforcement mesh, this blog will walk you through the process step-by-step. Don’t forget to subscribe to my YouTube channel, Daniel Lee Smith, for regular updates on rendering techniques, tips, and real-world projects.
Step 1: Preparing the Surface
The first step in any rendering project is preparation. Here, we began by removing damaged render from the bottom of the wall using a hammer. Proper surface preparation ensures that the new render adheres securely. While I focused on fixing PVC external render beads, Chris took care of protecting the surrounding areas by taping edges around doors and windows to prevent accidental smudging.

Step 2: Fitting Render Beads
Fitting render beads is a crucial step that defines the final finish. We used PVC render beads for their durability and ease of use. Ensuring they are level and aligned can save a lot of effort later in the project. In this case, we dealt with a wall that was uneven, requiring extra attention to get the beads perfectly positioned.
We used Turbo Fix adhesive to secure the beads, applying a generous amount to achieve a strong bond. This particular repair consumed over nine tubes of adhesive due to the wall’s thickness and irregularities.

Step 3: Applying Primer
A good primer is essential for strong adhesion between the render and the wall. We used EWI Universal Primer, a highly grippy solution, which Chris meticulously painted over the brickwork. This step is vital, especially when working on uneven or previously damaged surfaces.

Step 4: Mixing and Applying Render
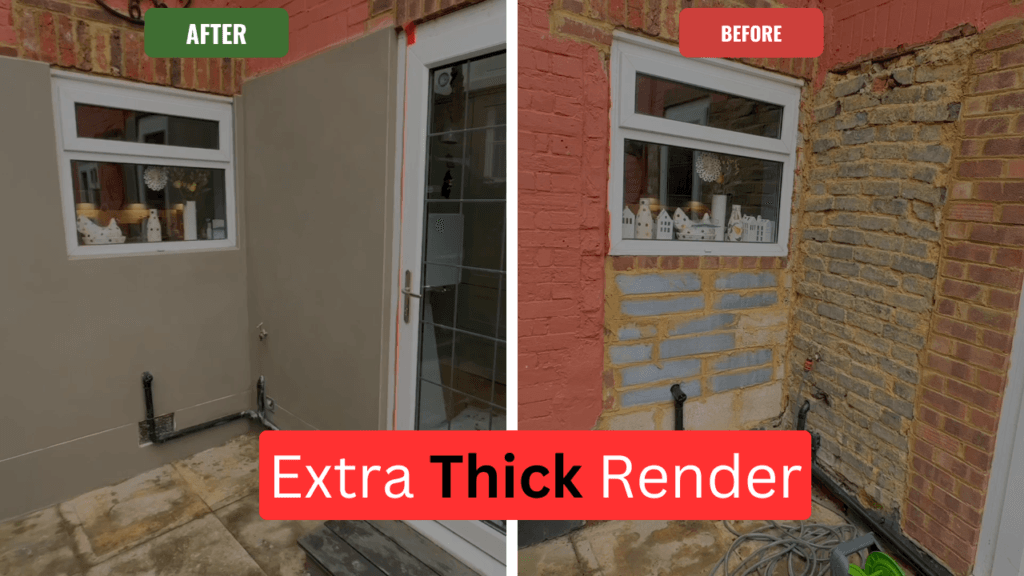
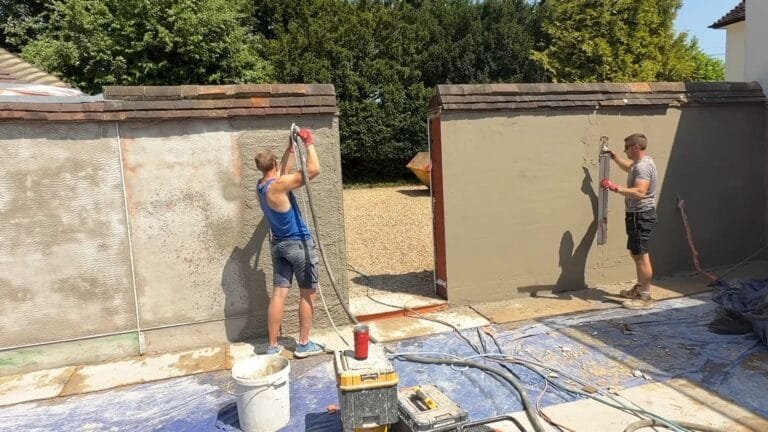
For the render mix, we used sand and cement render, reinforced with additives to improve strength and flexibility. Using our trusty Dewalt cordless mixing drill, we prepared three bags at a time, adjusting the consistency to suit the challenging conditions. A thicker render application was necessary due to the uneven wall.
To further reinforce the render, we embedded EWI PR render mesh into the first coat. The mesh was carefully trimmed and pressed into the render, ensuring it was secure. A second thin coat was applied over the mesh, creating a strong and even base.

Step 5: Adding Reinforcement and Final Touches
For areas with significant thickness, we added mechanical fixings to secure the render further. These fixings, combined with the mesh and additives, ensure durability and prevent cracking over time.
Finally, the render was scratched to create a textured finish, ready for the topcoat. While this project featured a single coat system, we allowed the render to cure overnight to ensure maximum strength and adhesion.


The Results
This project showcased the importance of proper preparation, attention to detail, and using quality materials. The wall now looks clean, level, and ready for the final topcoat, transforming the area into a visually pleasing space for our client.

Want More Content Like This?
If you enjoyed this detailed breakdown of a rendering project, check out my YouTube channel, Daniel Lee Smith, where I share regular videos on plastering and rendering. Don’t forget to subscribe for professional tips, tutorials, and project showcases!


