Get 10% descount on first project
Removing Old Render
Good morning, and welcome back to another episode of Daniel Plastering and Rendering! Today, we’re starting a fresh project, and I can’t wait to walk you through the process. This job has us removing old render and preparing a well-worn wall for a brand-new, moisture-resistant finish.

Assessing the Task: Removing the Old Render
The property we’re working on has seen better days. The existing render has started to crack, and it’s taken directly down to the floor, bridging the damp-proof course—a big no-no in construction. These issues need addressing to prevent further moisture damage. The structure itself is quite old, which is both a challenge and an adventure for us.
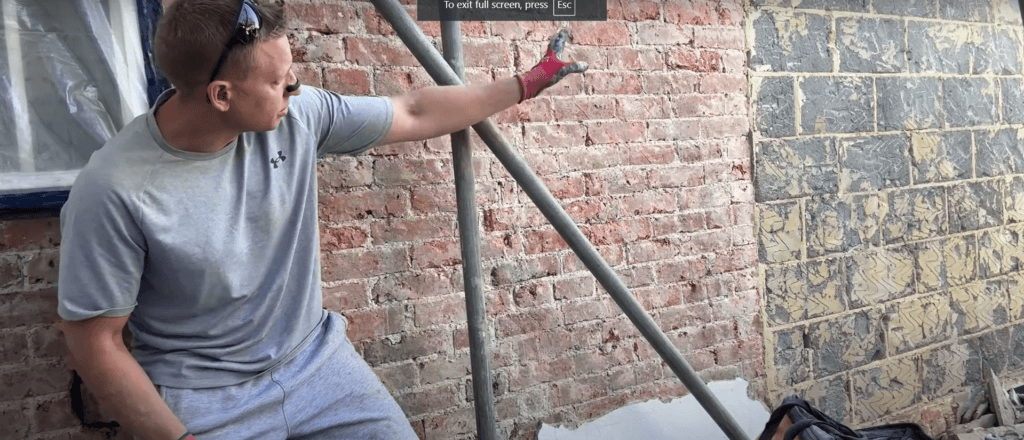
In some areas, the render is completely detached from the wall, which makes removal easier. But on other parts, it’s still firmly attached, making it a bit more labor-intensive. One interesting find today was a unique metal bead embedded in the wall. At first glance, it looked like a PVC piece, but it turned out to be metal—a rare discovery that reminded me how every job brings something new.

How to Remove Render: My Method
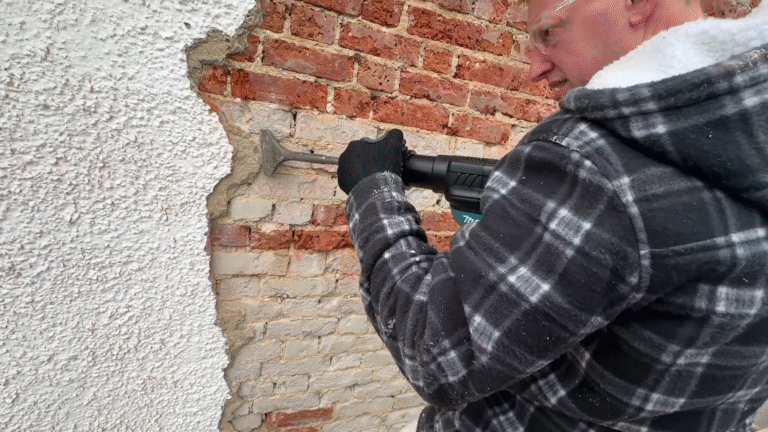
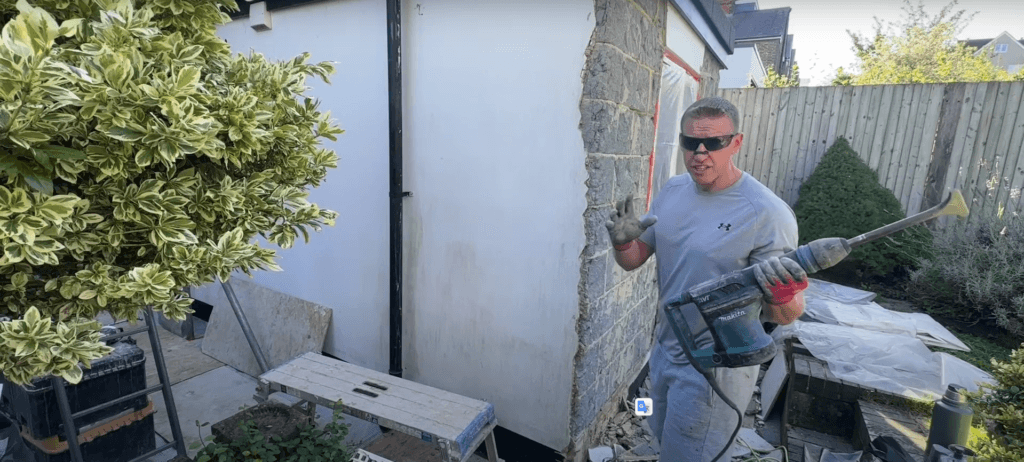
Removing old render is a precise task that requires the right technique. I always start from the top and work my way down. By doing this, I can use the weight of my 7 kg drill to help with the removal, which reduces fatigue. Working systematically, I go from corner to corner, stripping down layer by layer.
If you’re attempting a project like this, remember to let gravity do some of the heavy lifting. Consistency is key, so take your time and work methodically.
Mid-Project Reflection: Dealing with Mixed Materials
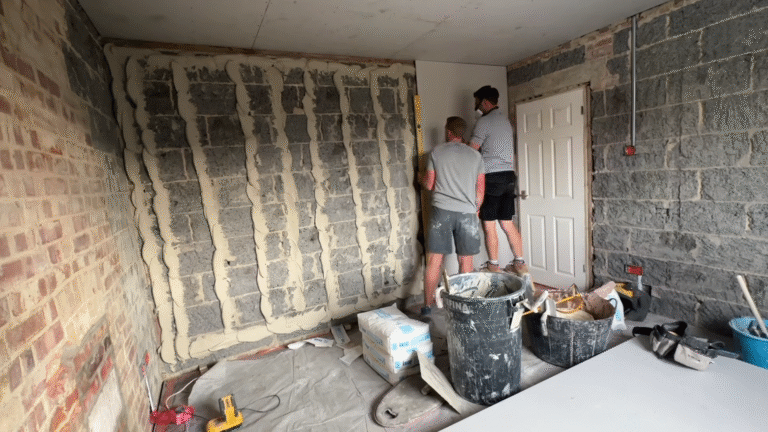
As we progressed, I noticed that half of the wall was part of a newer extension with breeze blocks, which came off relatively easily in large chunks. But the original stone blocks? That’s a different story. They required a lot more time and care to break through. In older buildings, it’s common to encounter a mix of materials layered over the years, making every wall its own unique challenge.
This building, over 100 years old, has been patched up in many ways over the decades. The patio level, for instance, was raised, compromising the damp course. Instead of simply going over the old render (which is possible in some cases), we’re completely removing it to avoid recurring moisture issues. The aged render had essentially become a moisture pathway, allowing damp to rise up through the walls.
The Solution: A New Lime Render Finish
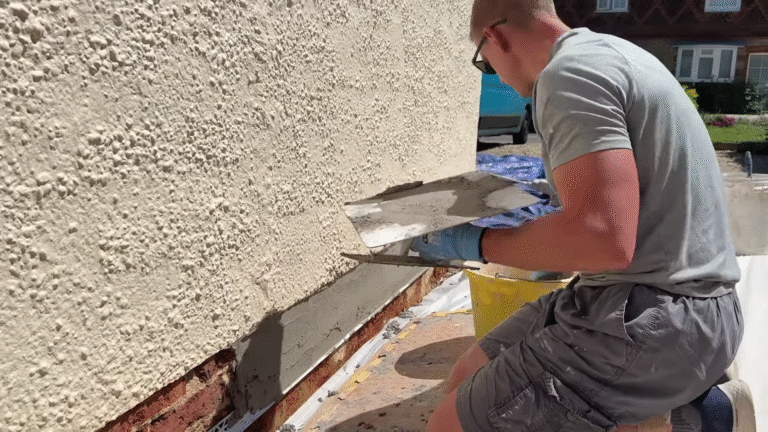
Once we’ve stripped everything back to the bare brick, we’ll be applying a lime render, known for its breathability and moisture management. Lime render is ideal for old buildings as it allows the walls to “breathe,” helping regulate moisture naturally. To give the new render even greater durability, we’re also adding a reinforcement mesh, something that wasn’t available when this building was first constructed.
Wrapping Up: Preparing for the Finishing Touches
As we move closer to completion, we’ll be adding a final coat of paint to protect the new render. It’s always satisfying to see a building revitalized, with a finish that looks great and keeps the structure dry and healthy. This project has been a great reminder of how much craftsmanship and care go into restoring older buildings.
Stay tuned for more updates on our projects! If you’re interested in seeing more behind-the-scenes footage or learning about the techniques we use, don’t forget to check out our latest videos on Daniel Plastering and Rendering.
