Get 10% descount on first project
How to Apply a Top Coat Plaster: A Complete Beginner-Friendly Guide
Introduction: Learning the Art of Plastering
Plastering may look effortless in the hands of a professional, but it’s a craft that blends precision, patience, and the right technique. Whether you’re a DIY enthusiast eager to try your hand at wall finishing or an apprentice learning the ropes, applying the top coat plaster (also known as the skim coat) is a skill worth mastering. This final layer gives your walls a smooth, paint-ready finish and can make the difference between a rough job and a professional result.
In this blog, we’ll walk through a complete, step-by-step process of applying top coat plaster, inspired by our hands-on experience from the video “Hayden Tries Plastering – How to Apply Top Coat Plaster.” You’ll learn how to mix plaster, apply it properly, and understand the techniques that create perfectly smooth, durable walls.
Understanding Top Coat Plaster
The top coat (or multi-finish coat) is the final layer of plaster applied over a base coat or bonding coat. Its main purpose is to create a clean, smooth surface for painting or wallpapering.
Why Top Coat Plastering Matters
- Provides a sleek, professional wall finish.
- Seals the surface and enhances durability.
- Hides imperfections from the undercoat or repairs.
- Prepares surfaces for decorative finishes.
In this guide, we use Thistle Multi-Finish, one of the most popular and versatile top coat plasters used by professionals in the UK.
Tools and Materials You’ll Need
Before getting started, gather the essential tools for plastering success:
- Hawk – a flat tool to hold and carry plaster.
- Plastering Trowel – for spreading and smoothing plaster on the wall.
- Mixing Bucket (70L) – to mix plaster and water.
- Drill Mixer – for blending the plaster to a smooth, lump-free consistency.
- Drop Sheets and Masking Tape – to protect floors, ceilings, and furniture.
- Clean Water – crucial for mixing and cleaning tools.
- Protective Gear – goggles, gloves, and clothing suitable for messy work.
Remember: clean tools and surfaces are essential. Even small bits of dried plaster can ruin your finish.
Step 1: Mixing the Top Coat Plaster
The first step in successful plastering is getting the mix right. In our demonstration, we mixed two bags of Thistle Multi-Finish in a 70L tub. The key is achieving a creamy, lump-free consistency that spreads easily.
Tips for Perfect Plaster Mixing:
- Always add plaster to water, not water to plaster.
- Mix slowly with a paddle mixer to avoid air bubbles.
- Scrape down the sides of the bucket regularly to prevent dry clumps.
- The ideal consistency should be similar to thick custard.
If the mix feels too thick, add a small amount of water gradually until it’s smooth and spreadable.
Step 2: Preparing the Wall and Work Area
Before applying plaster, ensure the surface is properly prepped:
- Remove dust and loose debris.
- Apply PVA bonding solution to seal porous surfaces and improve adhesion.
- Use drop sheets to protect the floor and any nearby furniture.
In our case, the wall was already hard-walled and patched, making it ready for the final skim.
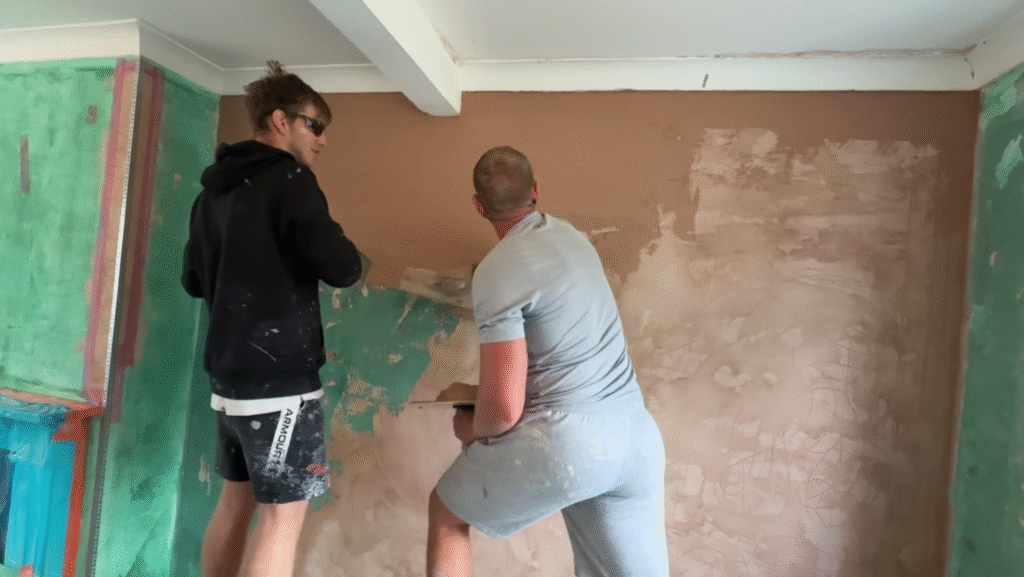
Step 3: Learning to Handle the Tools
For beginners like Hayden in the video, handling the hawk and trowel takes practice. It’s important to maintain balance and pressure when transferring plaster from the hawk to the wall.
Pro Tip:
Keep the plaster in the center of the hawk to maintain control. Balance is everything – too far to one side, and you’ll drop the mix before it even reaches the wall!
Step 4: Applying the First Coat
The first coat of plaster is about creating an even layer, not perfection. Apply the plaster from top to bottom, working from left to right if you’re right-handed.
Technique Overview:
- Start with a half-sweep motion, applying firm, consistent pressure.
- Keep the trowel at a 10–15° angle to the wall.
- Use overlapping strokes to avoid visible lines.
- Don’t overload your trowel – thin layers are easier to control.
At this stage, it’s fine if the finish isn’t flawless. The goal is to cover the surface evenly.
Step 5: Applying the Second Coat
Once the first coat firms up slightly (but is still damp), apply the second coat. This layer should be thinner – about 1 to 2 mm thick.
This coat smooths out any uneven areas and gives the wall that crisp, glass-like finish professionals are known for. Use long, sweeping motions, maintaining even pressure throughout.
Pro Tips:
- Don’t rush! The timing between coats matters. Wait until the first coat is firm but not dry.
- When applying the second coat, keep your trowel clean at all times.
- Use light pressure for the final passes to remove any minor imperfections.
Step 6: Working Around Corners and Edges
Corners, sockets, and reveals can be tricky, even for experienced plasterers. The secret is using controlled pressure and smaller tools when needed.
For Corners:
- Use the edge of your trowel to apply plaster carefully.
- Apply consistent pressure along both walls to avoid rounded edges.
For Reveals and Sockets:
- Use a margin trowel or smaller tool for precision.
- Apply in thin layers and check alignment regularly.
In our example, we even had to plaster around a TV mount and electrical sockets – tricky but manageable with patience and precision.
Step 7: Smoothing and Polishing
After both coats are applied, the plaster needs to be flattened and polished before it fully sets.
How to Achieve a Polished Finish:
- Allow the plaster to stiffen slightly.
- Use clean water and a clean trowel for the final smooth passes.
- Work in circular motions to remove trowel marks and blend edges.
- Keep wiping your trowel clean to avoid dragging dried bits across the surface.
By the end, the wall should feel perfectly smooth to the touch and ready for painting once dry.
Expert Advice: How Long It Takes to Master Plastering
Plastering is an art form that takes time and dedication. As explained in the video, mastering internal plastering can take around three to five years of consistent practice. Once you’ve got the fundamentals, you can specialize in areas like damp repair, external rendering, or insulated board systems.
While strength helps, plastering is more about technique, endurance, and consistency than raw power. With regular practice, anyone can become proficient.
Final Results and Clean-Up
Once the plaster is fully applied, take time to clean your tools immediately — dried plaster can permanently damage them. The finished wall in our project came out beautifully smooth, ready for decorating once dry. A clean workspace is the mark of a true professional!
And yes, even the customer’s dog, Pixie, approved the final result.
Conclusion: From Beginner to Confident Plasterer
Learning how to apply top coat plaster might feel intimidating at first, but with patience and the right approach, it’s an incredibly rewarding skill. Whether you’re improving your home, training as an apprentice, or expanding your trade expertise, mastering the art of plastering gives you the power to transform walls into flawless, professional finishes.
If you found this guide helpful, don’t forget to share it, leave a comment, or subscribe to our YouTube channel for more tutorials on plastering, rendering, and property restoration.
Keywords: plastering tutorial, how to apply top coat plaster, thistle multi finish, plastering tips, DIY plastering, wall finishing guide, beginner plastering, plastering techniques, smooth wall finish, plastering training guide


