Get 10% descount on first project
The Ultimate 9-Stage Process for Installing a 100mm External Wall Insulation System

When it comes to improving a building’s thermal performance and overall appearance, installing a high-quality External Wall Insulation (EWI) system is one of the best investments a homeowner or property manager can make. In this blog, we walk you through a full 9-stage process of installing a 100mm External Wall Insulation System, breaking down each step with professional insights to help you understand what goes on behind the scenes of a proper EWI application.
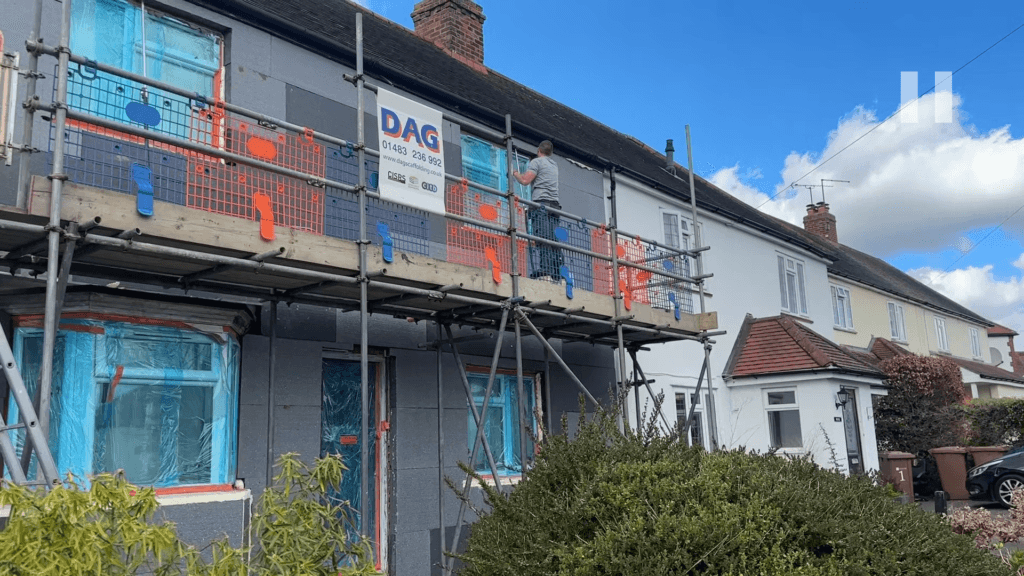
Stage 1: Initial Setup – Full 100mm EWI System Preparation
Before anything begins, the site is fully prepped for the EWI installation. This includes evaluating the walls, ensuring surface readiness, and planning logistics. Choosing a 100mm insulation ensures excellent thermal performance and long-term energy savings.


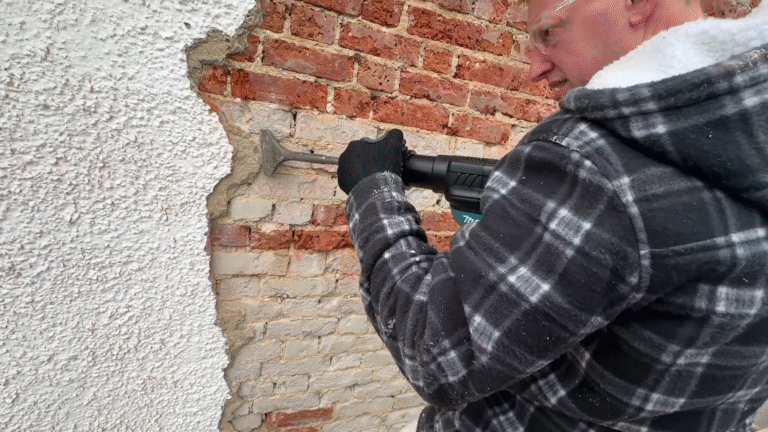
Stage 2: Removing Damaged Render
All old or damaged render is removed from the existing wall surface. This is a critical stage to ensure the new insulation bonds properly to the substrate, preventing future issues such as delamination or moisture ingress.

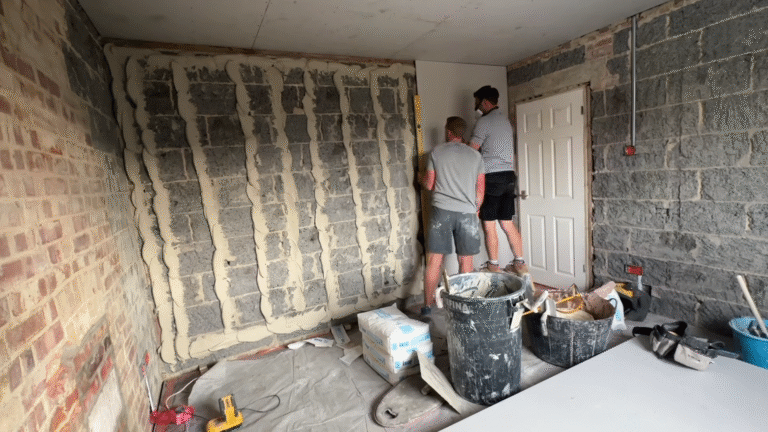
Stage 3: Cutting and Gluing the Insulation Boards
Next, the external insulation boards are precisely cut and glued onto the wall using a high-performance adhesive. The cutting must be clean and accurate to avoid thermal bridging and ensure a seamless fit.
Pro Tip:
- Use a notched trowel to evenly spread the adhesive.
- Leave no large gaps between insulation boards.

Stage 4: Mechanical Fixing to Solid Brick Walls
Once the adhesive has set, the insulation boards are mechanically fixed to the wall using specialized insulation fixings. This adds structural integrity to the system, especially in areas prone to wind or moisture exposure.
Why It Matters:
- Ensures long-lasting adhesion
- Prevents board movement over time


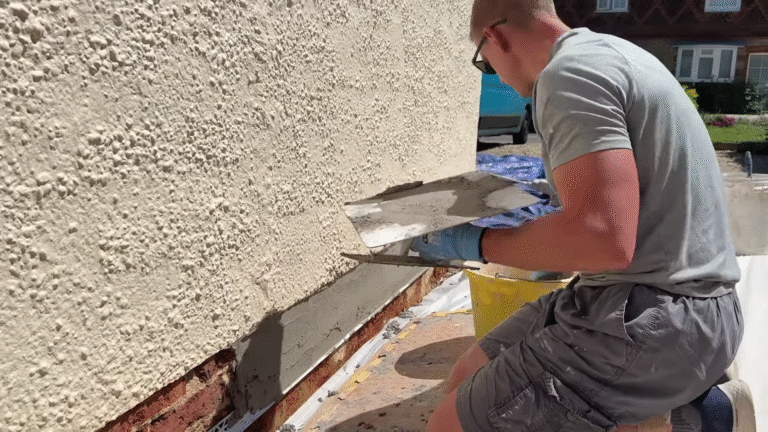
Stage 5: Spray Applying the Premium Base Coat Render
A premium-quality base coat render is spray-applied across the surface of the insulation. This forms the foundation for reinforcement and the final aesthetic layer. Spraying saves time, ensures uniform coverage, and delivers a smooth finish.
Equipment Tip:
- Use a professional render spray machine for consistency.

Stage 6: Ruling Off the Base Coat
Once the base coat is applied, it’s ruled off (leveled) to create a flat surface. This is crucial before embedding the reinforcement mesh to avoid any bumps or uneven textures in the final coat.
Key Benefits:
- Prepares for mesh embedding
- Ensures professional finish


Stage 7: Embedding Reinforcement Mesh
The alkali-resistant mesh is then embedded into the base coat while it’s still workable. This adds strength and prevents cracking over time, especially with seasonal movement or minor impacts.
Mesh Facts:
- Mesh overlaps are essential (minimum 100mm)
- Mesh corners should be reinforced further

Stage 8: Applying the Coloured Silicone Render
Once everything is set and dried, a coloured silicone render is spray-applied. This final coat not only defines the building’s visual appeal but also offers long-term protection from the elements.
Silicone Render Advantages:
- UV-resistant and water-repellent
- Comes in a wide range of colors
- Low maintenance and self-cleaning


Stage 9: Final Inspection After Scaffold Removal
After the scaffolding is taken down, a final walk-through is conducted. This ensures the finish is consistent, the edges are clean, and any touch-ups are made if needed. Attention to detail here marks the difference between average and top-tier workmanship.

Final Thoughts
Installing a 100mm External Wall Insulation System is a meticulous process that demands expertise, precision, and the right materials. From removing damaged render to applying the final silicone finish, each step plays a crucial role in achieving a durable, energy-efficient, and aesthetically pleasing exterior.
If you’re planning to upgrade your property or manage insulation projects professionally, following a detailed and structured approach like this one is the key to long-term success.
Ready to Transform Your Home’s Exterior?
If you found this breakdown helpful, don’t forget to share it with others, leave a comment below, or check out more of our expert plastering and rendering videos on YouTube.


