Get 10% descount on first project
Pro Tips for Perfect Ceiling Plasterboarding
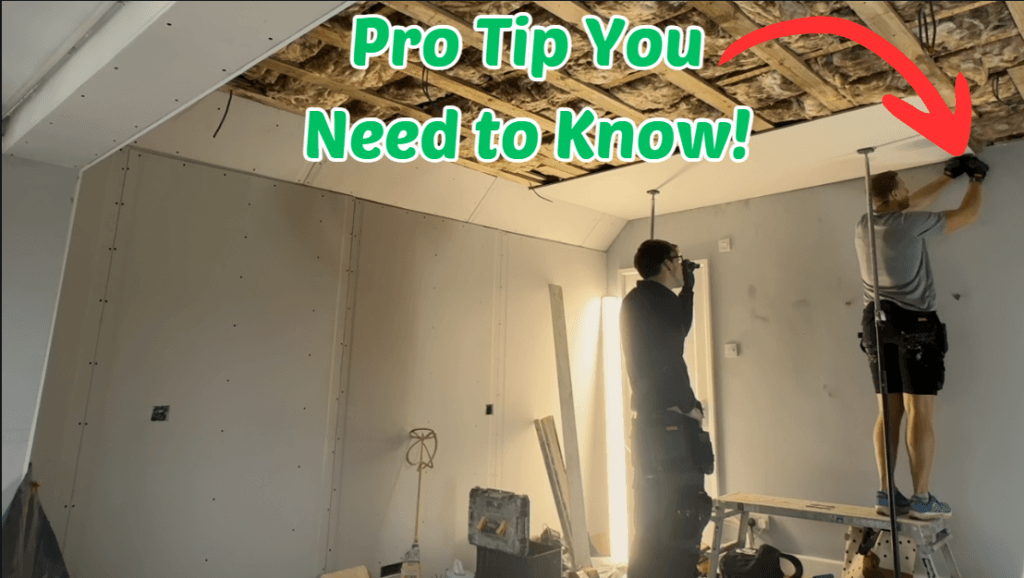
Pro Tips for Perfect Ceiling Plasterboarding
Plasterboarding a ceiling is a crucial step in creating a smooth, professional finish for any room. Whether you’re a DIY enthusiast or a professional contractor, understanding the best practices, tools, and techniques can make all the difference. In this guide, we’ll cover everything from selecting the right materials to installing ceiling boards efficiently while avoiding common mistakes.
Why Proper Ceiling Plasterboarding Matters
A well-plastered ceiling enhances aesthetics, improves insulation, and provides a stable base for paint or wallpaper. Poor plasterboarding can lead to cracks, uneven surfaces, and weak joints, ultimately affecting the durability of your work. By following the right methods, you’ll achieve a high-quality finish that lasts.
Essential Tools for Plasterboarding
Before you start, ensure you have the right tools for a smooth installation process:
- Plasterboard Sheets (typically 2.4m x 1.2m)
- Screw Gun (Auto-Feed or Manual) – Brands like DeWalt and Festool offer high-quality options.
- Carpenter’s Pencil & Measuring Tape – For accurate markings.
- Stanley Knife – Essential for clean, precise cuts.
- Plasterboard Screws (25mm or 32mm recommended)
- Drywall Lifter or Plasterboard Prop – Helps position boards securely.
- Fiber Tape & Joint Compound – For seamless finishing.
Step-by-Step Guide to Ceiling Plasterboarding
Step 1: Find the Square Corner
Start by identifying the most square corner in the room. This helps in aligning the plasterboards properly. If the walls are not perfectly square, you may need to adjust the boards slightly to ensure a good fit.
Step 2: Positioning the Plasterboards
- Always install plasterboards perpendicular to the joists for maximum strength.
- If additional battens have been installed to level the ceiling, align the boards accordingly.
- Ensure each board is flush with the previous one to maintain even gaps.
Step 3: Cutting and Scribing the Boards
- Use a Stanley knife to score and snap the plasterboard for a clean edge.
- When cutting for light fixtures or electrical outlets, mark the cutout position and use a sharp blade for precision.
- Scribing technique: If a board doesn’t fit perfectly due to an uneven wall, mark the excess material and trim accordingly for a snug fit.
Step 4: Fixing the Boards to the Ceiling
- Hold the board securely using a drywall lifter or a second pair of hands.
- Attach the board using plasterboard screws every 150-200mm along the joists.
- Avoid over-screwing! If the screw goes through the paper layer, it weakens the board’s hold. In such cases, insert another screw next to it.
Step 5: Cutting Holes for Fixtures
- Use a marker to outline where holes are needed.
- Carefully cut using a Stanley knife or a hole saw for precise openings.
- Double-check the alignment before making any cuts.
Step 6: Securing & Final Checks
- Double-check that all screws are flush with the plasterboard surface.
- Use fiber tape over joints to reinforce them.
- Apply a thin layer of joint compound over screw holes and joints for a smooth finish.
Common Mistakes to Avoid
Even experienced builders make errors when plasterboarding. Here are the top mistakes and how to avoid them:
1. Over-Screwing the Plasterboard
Problem: If the screw penetrates through the paper layer, the board loses 50% of its holding strength.
Solution: Use just enough pressure to make the screw sit flush with the surface.
2. Misaligned or Loose Boards
Problem: Uneven gaps between boards result in poor finishing and weak joints.
Solution: Always measure twice before cutting and ensure tight-fitting seams.
3. Cutting Without Measuring Properly
Problem: Cutting before double-checking measurements leads to wasted materials.
Solution: Mark all cut points accurately before making any cuts.
4. Ignoring the Importance of Fiber Tape
Problem: Skipping fiber tape over joints leads to cracks over time.
Solution: Always apply fiber tape before joint compound for added durability.
5. Not Following the Joist Direction
Problem: Running boards in the wrong direction weakens the structure.
Solution: Install boards perpendicular to joists for maximum support.
Final Touches and Finishing Up
Once all boards are securely in place, it’s time to seal joints, sand the surface, and prepare for painting or plastering. A smooth, well-plastered ceiling makes decorating easier and enhances the overall look of the space.
Final Checklist:
✅ Are all screws flush with the surface?
✅ Have you applied fiber tape to all joints?
✅ Is there a uniform gap between boards?
✅ Have all fixture cutouts been made precisely?
Conclusion: Your Path to a Perfect Ceiling
By following these expert tips and avoiding common mistakes, you can achieve a perfectly plasterboarded ceiling that looks professional and lasts for years. Whether you’re a DIYer or a seasoned contractor, mastering these techniques will save time and improve results.
🚀 Got any plasterboarding tips or experiences? Share them in the comments! Also, check out our YouTube channel for more step-by-step tutorials.
Happy plasterboarding! 🎯


