Get 10% descount on first project
Applying a Lime Render Top Coat: A Step-by-Step Guide
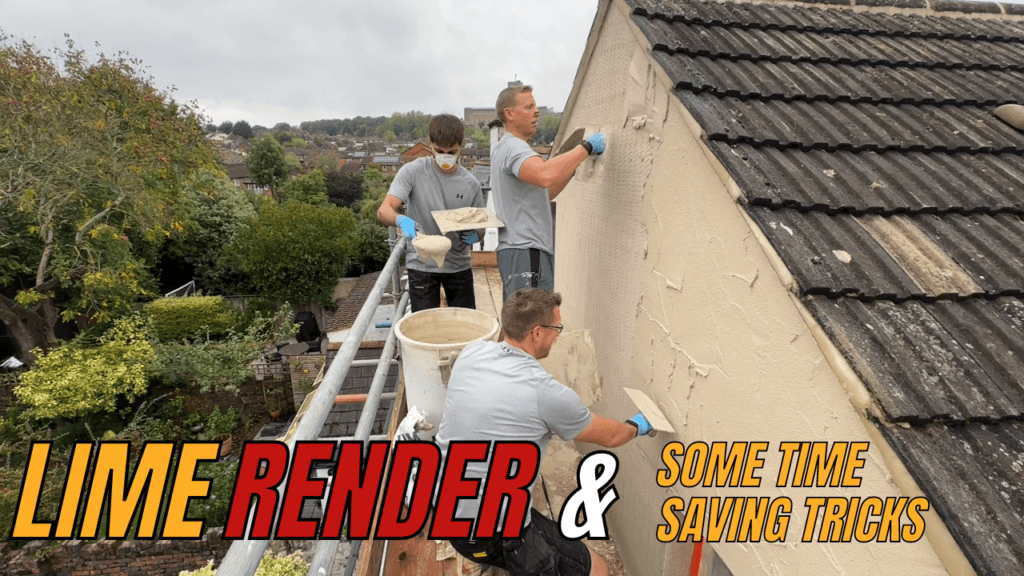
In this blog, I’ll walk you through the process of applying a lime render top coat. Lime render is a popular choice for its breathability and durability, making it perfect for exterior walls. If you’re keen to know how to get a smooth, even finish, keep reading for our top tips and tricks to achieve professional results!
Step 1: Preparing the Wall
Before we start applying the top coat, it’s essential to prep the wall thoroughly. Lime render needs a solid, hydrated base, as it can be incredibly porous. If the wall is too dry, it will absorb the render too quickly, leading to an uneven finish. We start by thoroughly soaking the wall with water, ensuring it’s damp but not dripping. This initial step gives the render a good surface to adhere to.

Step 2: Mixing the Lime Render
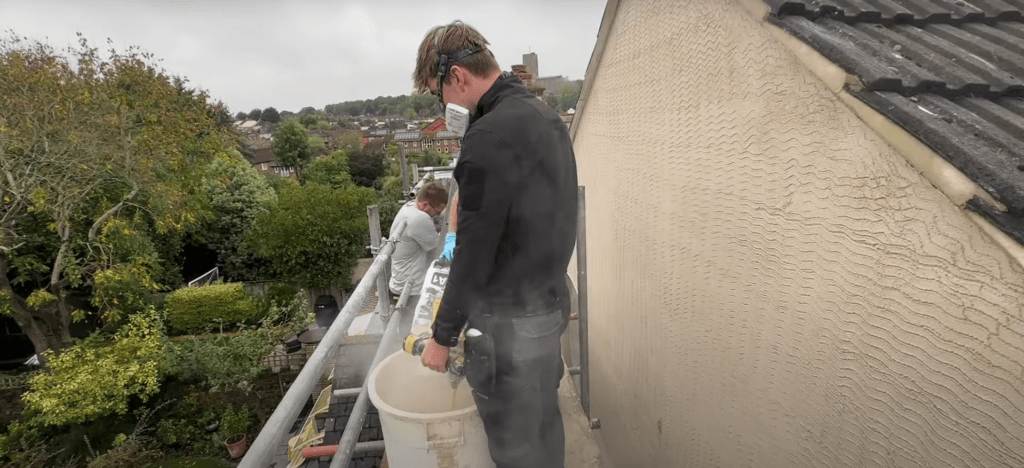
The next step is mixing the lime render. Here, precision is key. We typically use 4.5 liters of water per bag of render mix, but this can vary slightly depending on the weather. If it’s warmer, you might need a bit more water, and on cooler days, a bit less. For today’s project, we’re mixing five bags, which gives us enough material to cover the top section of the wall.
Step 3: Applying the Render
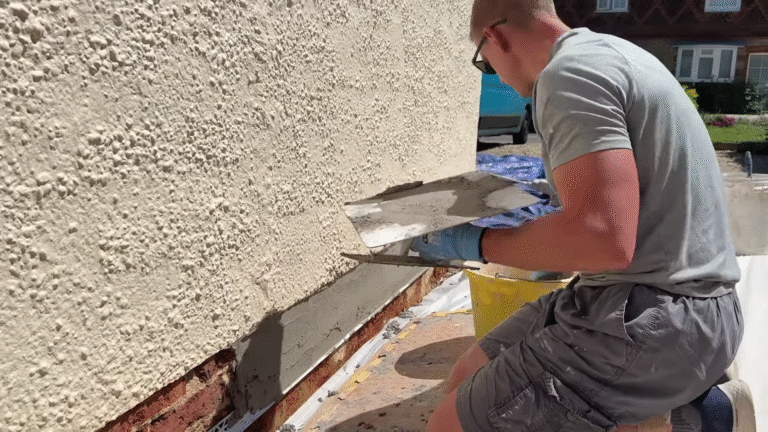
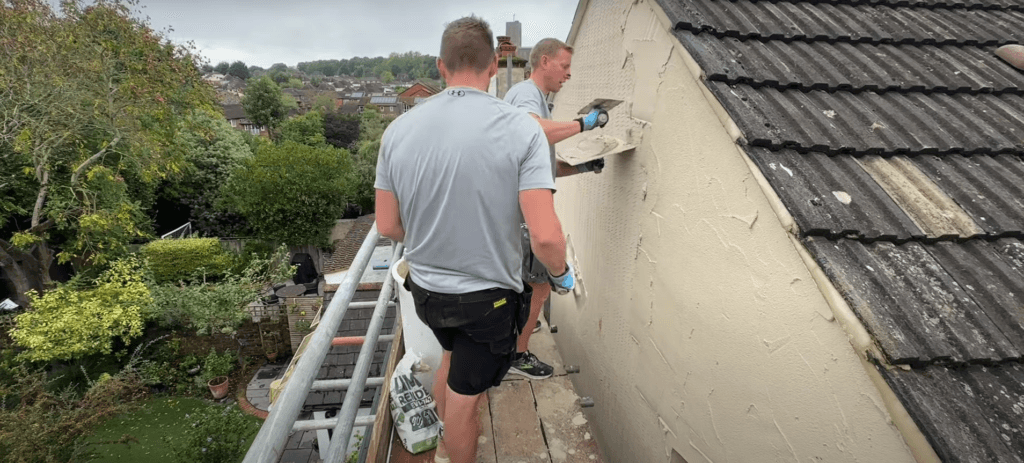
Now it’s time for the main event – applying the render. Using a trowel, we press the lime render into the wall, creating an even layer. This technique ensures that the render fills in any gaps and adheres well to the base coat. It’s important to keep the render a little on the wet side, which makes it easier to apply without drying too quickly. A mix that’s too thick can make the application more challenging, especially on larger surfaces.
Step 4: Power Floating for a Smooth Finish
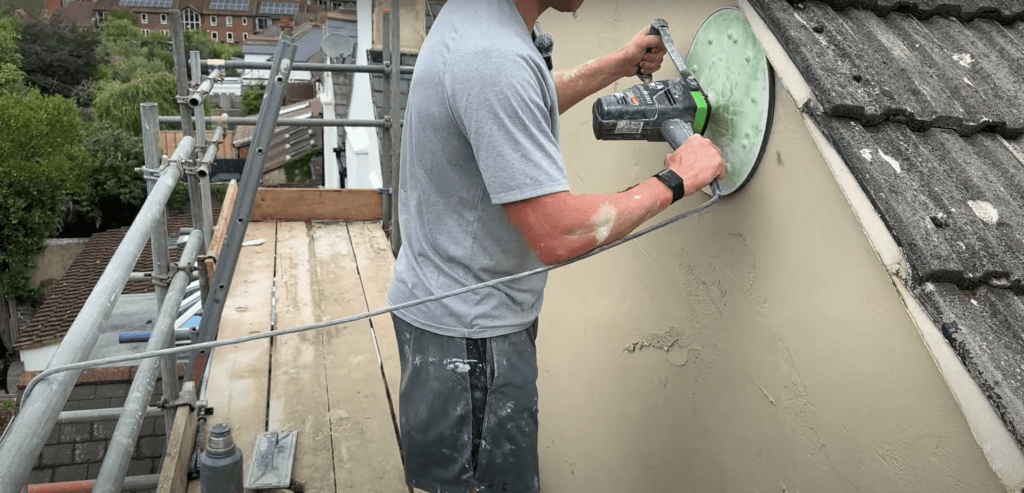
Once the render has had a bit of time to set (usually about an hour and a half), we go over it with a power float. This tool helps smooth out the render and highlights any small inconsistencies, such as tiny hollows or bumps. This is the time to focus on details, as it’s much easier to refine the surface before the render fully dries.
Step 5: Filling Any Remaining Hollows
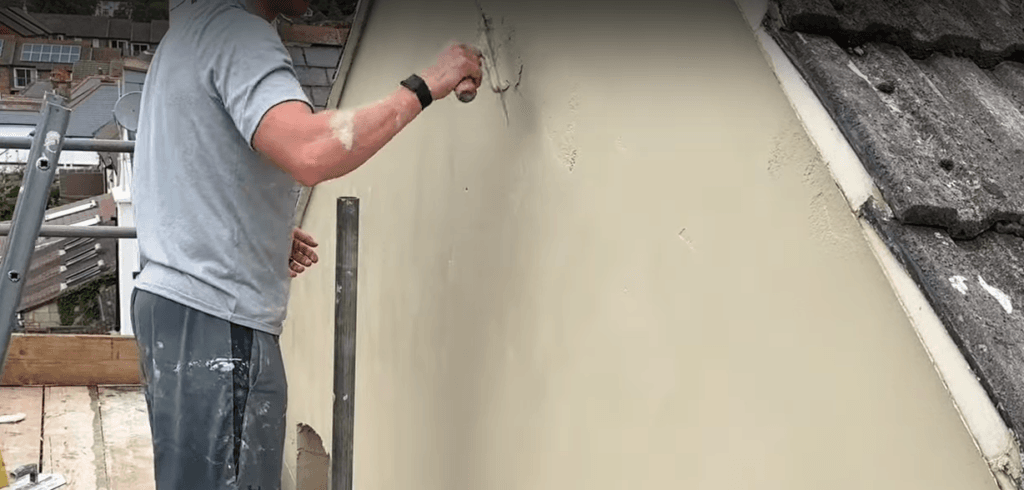
Even with a power float, there may still be small hollows or areas needing extra attention. We keep some mixed render on hand to fill these spots as needed. Using a hawk and trowel, we apply the render to these areas for a seamless finish.
Step 6: Finishing Touches with a Sponge Float
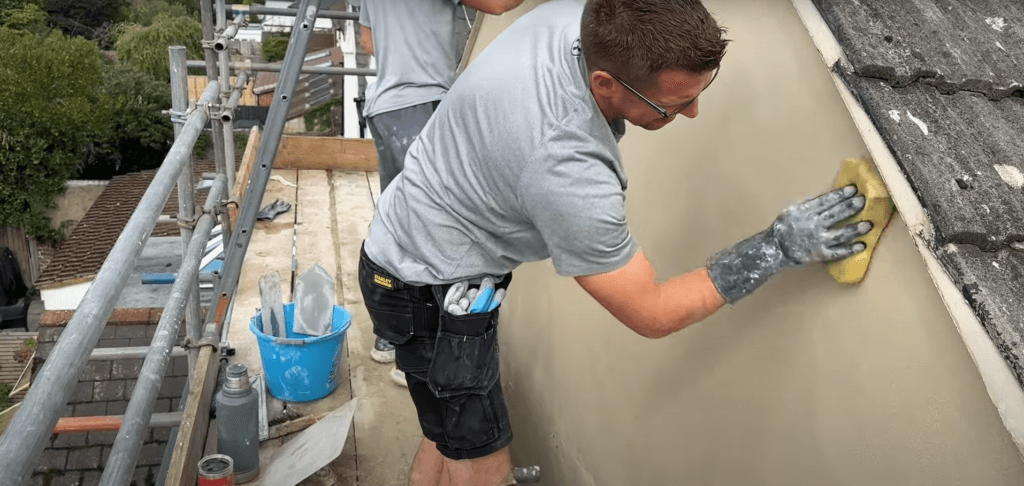
For the final touch, we use a damp sponge to achieve a consistent, smooth texture. This is particularly effective on any remaining rough areas, and the sponge helps create an even look without disturbing the underlying render. Depending on the drying time and weather conditions, you may need to adjust the dampness of your sponge.
Step 7: Ensuring Breathability with the Right Paint
Once the render has dried, painting is the final step to protect the surface. For lime render, it’s essential to use a breathable paint, as it maintains the render’s natural ability to let moisture escape. A lime-specific or silicon-based paint works well, as these are designed to complement the porous nature of lime.
Wrapping Up
The result is a beautiful, durable, and breathable finish that’s perfect for exterior walls. Lime render offers a timeless, natural look that’s as functional as it is attractive. Remember, proper preparation and attention to detail at each stage are key to achieving a professional-quality result. Happy rendering!

Watch the complete video and don’t forget to subscribe to my channel.

