Get 10% descount on first project
How to Apply a Lime Scratch Coat in Unpredictable Weather: A Complete Guide
Applying a lime scratch coat is a skill that demands patience, precision, and the ability to adapt—especially when the weather refuses to cooperate. If you’ve ever attempted exterior rendering during sudden rain showers, shifting temperatures, or classic British storms, you’ll relate to the challenges showcased in the video transcript this blog is based on.
In this guide, we’ll break down the full process demonstrated in the video while expanding on it with professional insights, best practices, and helpful techniques. Whether you’re a seasoned renderer or a DIY homeowner looking to understand the trade, this blog will walk you through everything you need to know to get a clean, durable lime scratch coat—even when the weather is working against you.
Understanding Lime Rendering in Unpredictable Weather
Lime render is breathable, flexible, and ideal for traditional buildings. However, its curing process is sensitive to weather conditions. Too much sun can cause rapid drying and cracking. Too much rain can wash off the material, weaken adhesion, or saturate the substrate.
The video begins with a classic example of the issue: thunderstorms one day, sunshine the next, and a downpour at 4 a.m. Yet the work must go on. The key is preparation, patience, and knowing when to push through and when to pause.
Preparing the Wall: Cleaning and Cutting Back High Spots
Before applying a scratch coat, you need a clean, even surface. In the video, the installer uses an old rendering trowel to shave back any render that’s sitting too proud of the brickwork.
Why This Matters
- Better adhesion: The scratch coat bonds more effectively to an even surface.
- Prevent bulging: High spots can lead to uneven application.
- Improved finish: Getting the base right ensures a better final result.
Tips for Cutting Back
- Use an old trowel, never your best one.
- Work along the edges of the brick as a depth guide.
- Remove debris, paint residue, or old plaster remnants.
- Rinse or brush the wall to remove dust.
This simple step makes a noticeable difference in finish quality.
Soaking the Wall Properly
Even after significant rainfall, the installer thoroughly soaks the wall again using a hose.
Why Soak the Wall?
Lime render needs a damp substrate to bond well. If the wall is too dry:
- It will draw moisture out of the lime too quickly.
- The render may crack or fail to adhere.
- Working time becomes significantly shorter.
Best Practice
- Soak the wall until moisture visibly sits on the surface.
- Avoid applying render onto a streaming-wet wall—aim for a saturated but stable surface.
Working Around Unpredictable Weather
The transcript reflects a common truth for exterior rendering in the UK: weather forecasts are often unreliable.
Strategies for Managing Weather Uncertainty
- Always check the site in person. Conditions can change dramatically within minutes.
- Prepare tarps or temporary covers in case of sudden rain.
- Work in manageable sections so that unexpected weather doesn’t ruin the whole day’s progress.
- Stay flexible. Sometimes, like in the video, you simply wait it out.
After hours of rain, the team resumes work once a dry window appears—reinforcing the point that timing is everything.
Cutting and Preparing Reinforcement Mesh
Once the wall is prepared, the installer measures and cuts the reinforcement mesh. This mesh is essential when applying lime render.
Benefits of Reinforcement Mesh
- Helps prevent cracking.
- Adds structural strength to the render.
- Improves durability, especially on older buildings.
Pro Tip
Cut mesh pieces slightly larger than the area so they can overlap. This ensures full coverage and continuous support.
Mixing the Lime Render
Lime render must be mixed correctly for optimum performance. In the transcript, the team prepares multiple batches throughout the day.
Key Guidelines for Mixing
- Follow manufacturer ratios—for example, a typical mix might involve a hydraulic lime binder with sharp sand.
- Add water gradually to avoid an overly wet mix.
- Mix long enough for full consistency but avoid overmixing.
- Allow the mix to “fatten up” by resting briefly before use.
Practical Workflow Tip
Prepare additional bags ahead of time, especially if you have helpers. A steady workflow prevents render from drying too quickly on the wall during application.
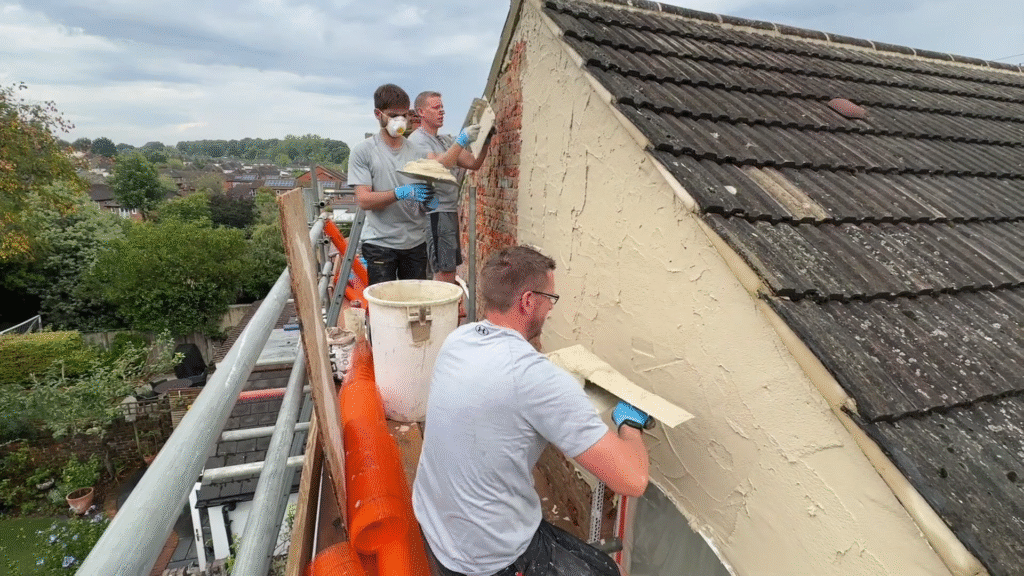
Applying the Lime Scratch Coat
Once the mix is ready, the scratch coat application begins. The team uses a system of passing loaded trowels up the scaffold, ensuring a smooth workflow.
Steps for Applying a Scratch Coat
- Load the hawk with two scoops of material.
- Apply a consistent first pass, spreading from bottom to top.
- Level and flatten using a straight edge or trowel.
- Embed the mesh into the wet render.
- Apply a second pass as needed for thickness.
The scratch coat should be:
- Roughened with a scratch comb.
- Uniform in thickness.
- Well-bonded into the substrate.
Tips for a Professional Finish
- Don’t overwork the surface.
- Keep edges straight—use beading if necessary.
- Maintain consistent pressure to avoid trowel marks.
Handling Complications: Cavities and Imperfections
In the video, the installer finds a “cavernous hole” above a door head. These surprises are common in older buildings.
How to Handle Gaps
- Pack them with additional lime render.
- Add extra mesh if needed.
- Make sure there are no voids before continuing.
Small repairs like this keep the finish strong and stable.
Completing the Section and Preparing for the Next
Once the top section is finished, the sun finally returns—classic unpredictable English weather. The installer then plans the next stage, preparing additional mixes and moving buckets down a level.
Efficient Rendering Workflow
To keep momentum:
- Always plan the next mix ahead of time.
- Move tools and materials safely between scaffold levels.
- Maintain communication with helpers.
This ensures smooth progress and a consistent finish across all sections.
Conclusion
Applying a lime scratch coat in unpredictable weather doesn’t have to be stressful. With the right preparation, a flexible mindset, and solid technique, you can achieve a long-lasting, high-quality finish even when the rain keeps you guessing.
From cutting back old render to soaking the wall, mixing the perfect batch, applying mesh, and working steadily through sudden weather changes, each step plays a crucial role in the final outcome.
If you’re working on a similar project—or planning one soon—use the insights and tips above to stay one step ahead of the elements.
Have questions or want to share your own rendering experiences? Drop a comment or join the discussion!


