Get 10% descount on first project
Old Render Made Bulletproof with EWI Premium Bio Silicone Render

Introduction: Transforming Old Render into a Bulletproof Finish
When exterior walls start to crack, peel, or absorb moisture, it’s more than just an eyesore — it’s a sign that your render has reached the end of its life. Many older homes, especially those with timber frame extensions or traditional sand and cement finishes, face this problem sooner than expected.
Fortunately, modern rendering technology has come a long way. In this project, we completely rejuvenated a tired, cracked exterior wall using EWI’s premium bio silicone render system — a durable, flexible, and weatherproof finish designed to outlast traditional methods.
This step-by-step breakdown covers how we turned a failing wall into a bulletproof, professional-grade finish, ensuring longevity, structural protection, and a flawless aesthetic.
1. Assessing the Problem: Why Old Render Fails
The property featured in this project had an extension built several years ago using a timber frame system. At the time, it was common practice to apply sand and cement render directly over sheets of plywood, even when done carefully.
However, this approach has since been found to cause serious issues, including:
- Cracking along joints between boards or materials
- Moisture ingress through micro-gaps
- Delamination, where render separates from the substrate
- Movement-related stress fractures, especially at “new meets old” junctions
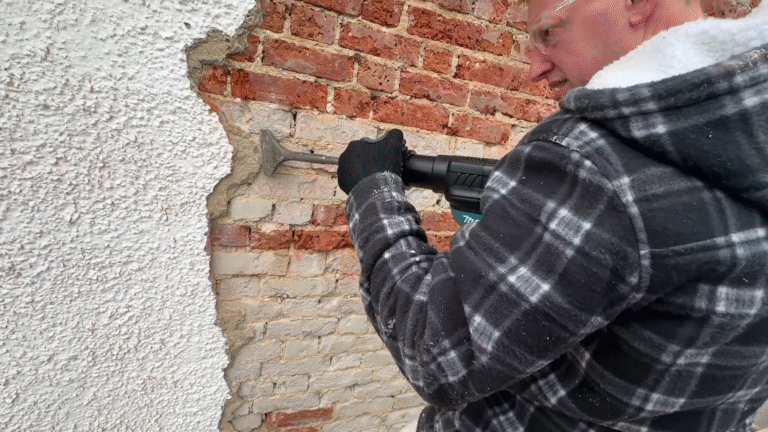
In this particular case, cracks had appeared along the joint where the new extension met the original structure. Large chunks of render had even fallen off, exposing the underlying surface.
It was clear this wall was in dire need of a modern, flexible system that could cope with both building movement and the elements.
2. Preparation: The Foundation of a Flawless Render
Protecting the Work Area
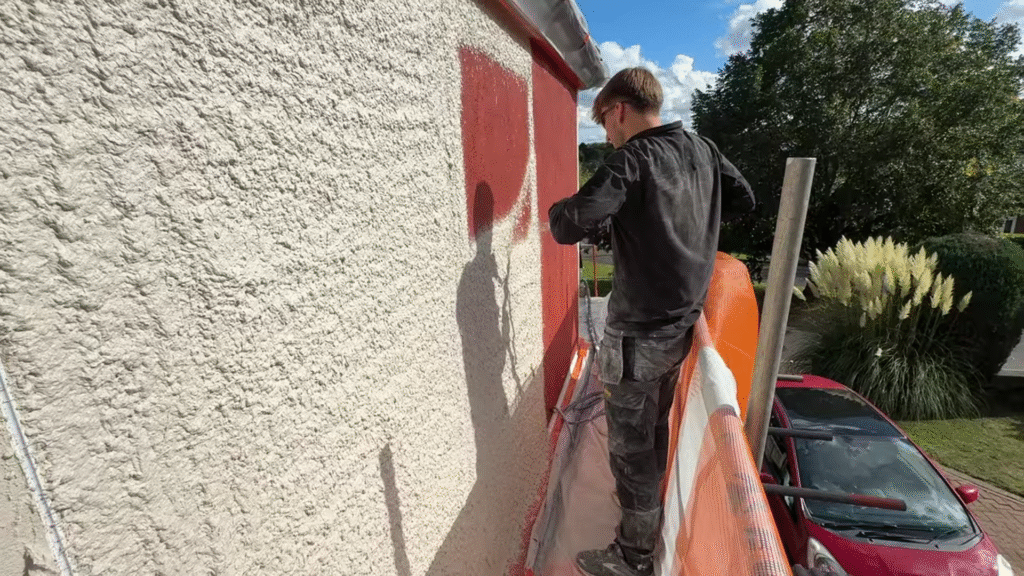
Before any work began, the first step was to protect the surrounding area. This included covering the ground, windows, and adjoining walls with polyethylene drop sheets and render tape to ensure a clean, professional finish.
Priming the Surface
Priming plays a crucial role in adhesion. We applied a high-quality EWI primer designed to enhance bonding between the base coat and substrate. It’s vital to apply primer only in dry weather conditions — moisture can cause runs and uneven coverage.
3. Installing Beads, Mesh, and Fixings for Strength
Render systems are only as strong as their reinforcement. For this project, we used:
- Full-coloured PVC corner and expansion beads
- Mesh angle beads for edge stability
- Stainless steel mechanical fixings for long-term durability
Expansion beads were strategically placed where new render meets old render, especially around the extension joint. These beads absorb minor movements in the structure, preventing future cracking.
This step is essential in creating what we call a “bulletproof render system” — a surface that won’t crack or separate under stress.
4. Applying the EWI Premium Base Coat
Mixing and Applying the Base Coat
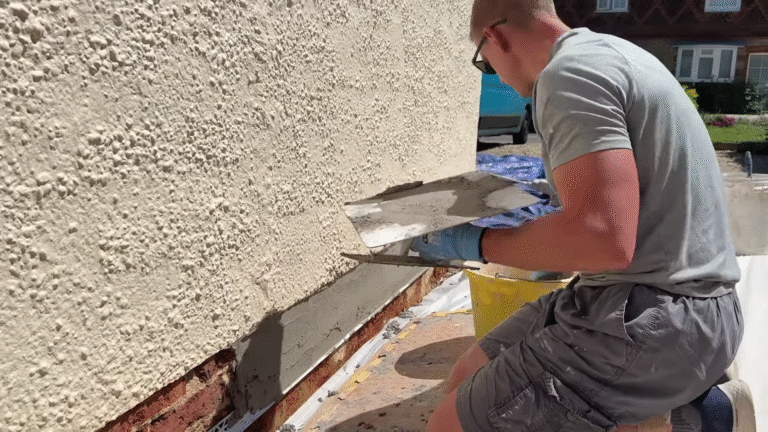
The first major application stage involved EWI’s Premium Base Coat, applied at a thickness of approximately 5–6mm. Onto this, we embedded a fiberglass mesh for strength and crack resistance.
Once the mesh was fully embedded, a thin layer of base coat was smoothed over the top, creating an even surface.
There are two main techniques for this step:
- Float and flatten in one pass
- Apply and allow to harden before a finishing coat
In this case, we opted to let the first layer dry before applying a second thin skim coat. This approach ensures a smooth, consistent base ready for the primer and topcoat.
Tool Spotlight: Regal & Barnes Flexi Trowel
For this work, we used the Regal & Barnes 0.3mm Flexi Trowel from the EWI Store — an excellent tool for achieving smooth, tight finishes without visible trowel lines. The flexibility allows for precise control, especially when feathering edges and joining sections seamlessly.
5. Priming and Applying the Bio Silicone Render
Once the base coat was fully dry, we moved on to the colored primer. This step ensures proper adhesion and uniform color across the wall.
After priming, it was time for the star of the show — EWI’s Bio Silicone Render. This product offers:
- Superior breathability — allowing moisture to escape without compromising waterproofing
- Self-cleaning properties — dirt and debris wash away with rain
- UV resistance — prevents fading and chalking over time
- Long-lasting flexibility — ideal for older buildings and mixed materials
The chosen finish was pure brilliant white, 1mm grain, applied by spray for a consistent, modern texture.
6. Detailing and Finishing Touches
Attention to detail makes all the difference in professional rendering.
Expansion Beads and Junctions
Each junction between the new and old render was separated by an expansion bead, preventing future cracking as the structure naturally moves.
Edges and Lead Flashing
Around leadwork and window edges, crisp beading and careful masking ensured sharp lines and a watertight finish.
Neighboring Property Boundaries
For semi-detached or adjoining properties, a common question arises:
“How do you finish up against the neighbor’s render without affecting their wall?”
The answer is precision. We run a fine PVC bead along the boundary line and tape it carefully, allowing the new render to tie in neatly without disturbing the neighboring surface.
7. The Final Result: A Flawless, Long-Lasting Finish
The finished result speaks for itself — a bright, clean, and durable exterior that not only looks fantastic but performs exceptionally well against the elements.
The combination of stainless steel fixings, embedded mesh, premium base coat, and bio silicone render has turned a previously failing wall into a resilient, weatherproof facade.
Even the original features, such as cast iron bolts and concrete guttering, were preserved and blended beautifully into the new finish — a testament to careful craftsmanship and thoughtful restoration.
8. Why Choose EWI Premium Bio Silicone Render?
If you’re considering a render upgrade or repair, here’s why this system stands out:
✅ Long-Term Durability: Resistant to cracking, fading, and weathering
✅ Low Maintenance: Self-cleaning surface stays bright for years
✅ Eco-Friendly: Bio silicone formula allows breathability and moisture control
✅ Enhanced Appearance: Smooth, consistent finish with customizable colors
✅ Professional Compatibility: Works on various substrates, including insulation boards and traditional walls
This system doesn’t just hide old render problems — it solves them.
Conclusion: Future-Proofing Your Property
Rendering isn’t just about appearance; it’s about protecting your investment. Using outdated sand and cement systems on modern or mixed-material properties often leads to cracks, dampness, and delamination.
By switching to EWI’s Premium Bio Silicone Render, you create a strong, flexible, and watertight envelope that stands the test of time — rain, wind, and movement included.
If you’re planning to refurbish your exterior or upgrade a failing render, take the modern route. Your walls — and your future self — will thank you.
Call-to-Action
Liked this transformation?
👉 Subscribe to our YouTube channel for more professional rendering tutorials and behind-the-scenes tips.
📩 Interested in a quote or advice on your own property? Visit Daniel Lee Plastering & Rendering to learn more about our services.
Keywords: EWI premium render, bio silicone render, external wall insulation, render repair, expansion bead, base coat, mesh reinforcement, silicone top coat, modern rendering systems, waterproof render, crack-resistant render, rendering old walls, Daniel Lee Plastering, render restoration


