Get 10% descount on first project
Mastering Lime Scratch Coat Rendering in Unpredictable Weather

Applying a lime scratch coat can be both an art and a test of patience—especially when unpredictable weather gets involved. In this blog, inspired by a hands-on demonstration from Daniel Lee Plastering, we’ll walk through the process, challenges, and best practices for applying a lime scratch coat while working against the clock and the clouds.
Why Use Lime for Rendering?
Lime rendering has been used for centuries and remains a popular choice for exterior plastering today. Some of the key benefits include:
- Breathability: Lime allows walls to release moisture, reducing the risk of trapped damp.
- Flexibility: More forgiving than cement, lime can accommodate small structural movements without cracking easily.
- Aesthetic Finish: Lime gives buildings a traditional, timeless appearance.
- Eco-Friendly: Natural and sustainable compared to cement-based alternatives.
Whether restoring historic properties or working on modern builds, lime is a versatile choice that delivers durability and charm.
Preparing the Wall for a Lime Scratch Coat
The foundation of a good render lies in preparation. Daniel highlights several important steps:
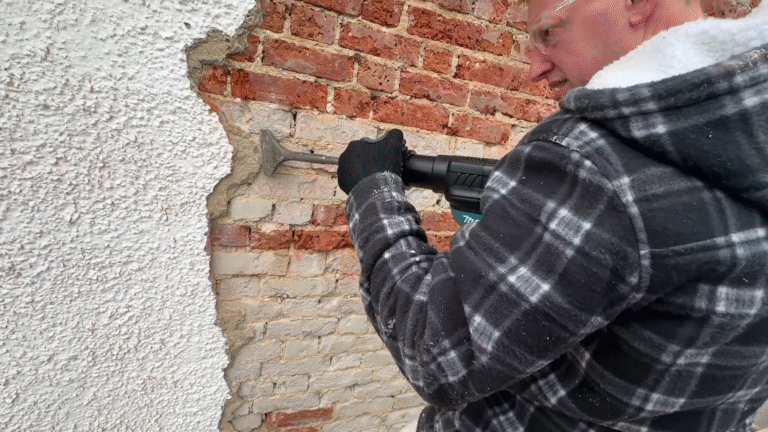
- Cleaning the Wall: Remove any residue, old paint, or protruding material. Using an old rendering trowel works well for scraping back excess bits without damaging brickwork.
- Soaking the Wall: Before applying lime, it’s crucial to thoroughly soak the wall. This prevents the bricks from drawing moisture out of the lime too quickly, which can lead to poor adhesion and cracking.
- Checking the Weather: Rain can make or break the job. Even after a heavy downpour, walls may need another soak to ensure proper consistency for application.
Tools and Materials You’ll Need
- Old rendering trowel (for scraping and cleaning)
- Hose or spray pump (for soaking the wall)
- Scissors (for cutting mesh reinforcement)
- Buckets and mixing equipment
- Lime plaster mix
- Reinforcement mesh
Pro Tip: Don’t use your best trowel for scraping residue—it’ll only shorten its life. Keep an old one handy for rough work.
Step-by-Step Application of Lime Scratch Coat
Here’s a breakdown of Daniel’s method:
1. Mixing the Lime
- Mix lime plaster in manageable batches (usually 3–5 bags at a time, depending on wall size).
- Ensure proper consistency—not too runny, not too stiff.
2. Applying the First Coat
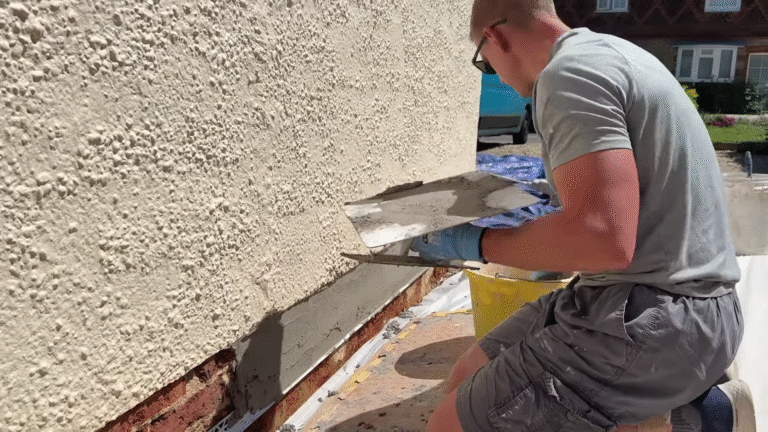
- Apply evenly across the wall using a bucket trowel.
- Work from top to bottom in sections, making sure each scoop is spread smoothly.
- Don’t worry if it looks rough—this is the scratch coat, designed to form a strong base for subsequent layers.
3. Adding Reinforcement Mesh
- Embed reinforcement mesh into the wet coat to help prevent cracking.
- Overlap the mesh slightly between sheets for added strength.
- Press gently to ensure the mesh bonds well with the lime.
4. Scratching the Coat
- Once applied, lightly score the surface with a scratch comb or similar tool.
- This rough texture ensures that the next coat adheres firmly.
Battling the Weather: A Realistic Challenge
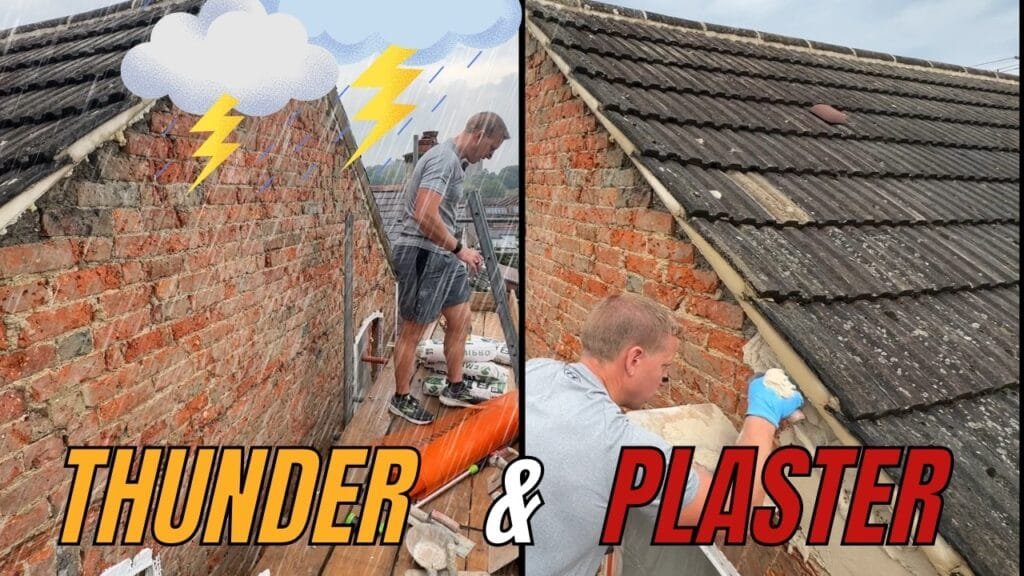
Working in England means one thing—expect the unexpected. In Daniel’s project, rain interrupted multiple times, forcing delays and re-soaking. His advice is straightforward:
- Never trust the forecast entirely. Always check conditions yourself.
- Be patient. Rushing can ruin the job, especially if rainwater interferes with drying.
- Work in windows of good weather. Even a 3–4 hour clear spell can be enough to get a decent section done.
By adapting to conditions and staying flexible, you can still achieve a professional finish despite unpredictable skies.
Common Mistakes to Avoid
- Skipping the soak: Dry walls will pull moisture out of the lime too quickly.
- Overloading the wall: Apply in thin, even layers rather than dumping too much at once.
- Ignoring reinforcement mesh: Skipping mesh increases the risk of cracking.
- Trusting the forecast blindly: Always plan for sudden showers.
Final Results and Takeaways
Despite battling rainstorms in the morning and glorious sunshine in the afternoon, Daniel successfully completed the top section with a smooth lime scratch coat. The key lessons?
- Preparation is everything.
- Flexibility—both in material and mindset—is essential.
- With the right techniques and patience, lime rendering remains one of the most effective and beautiful finishes for exterior walls.
Conclusion: Ready to Try Lime Scratch Coating?
Applying a lime scratch coat may seem daunting, especially with weather challenges, but the results are worth it. By following expert techniques—prepping thoroughly, using reinforcement mesh, and working around unpredictable conditions—you can achieve a strong, durable, and visually appealing finish.
If you found this guide useful, don’t forget to share it with fellow DIYers, comment with your questions or tips, and explore more of our plastering and rendering resources. Your next lime rendering project might just be your best one yet!


