Get 10% descount on first project
Foolproof Rendering Prep Hack: Protecting Steel with Cement Board

Whether you’re a professional plasterer or a keen DIY enthusiast, proper rendering preparation is crucial—especially when it comes to protecting steel structures like RSJs (Rolled Steel Joists) from moisture damage. In this post, we’ll walk you through a quick, reliable method for shielding steel using cement board, often referred to as hardie backer board or XPS insulation board.
Let’s dive into this practical rendering hack that can save you time, money, and future headaches.
Why Protecting Steel is Essential in Rendering
Steel is strong and versatile, making it a popular choice in modern construction. However, exposure to moisture can lead to corrosion, especially if the steel is in contact with timber or embedded in damp environments. When steel begins to rust, it not only weakens the structure but can also cause costly damage to the surrounding render or plasterwork.
That’s why it’s vital to seal and protect steel before any rendering begins.
The Go-To Solution: Cement Board + Sealant
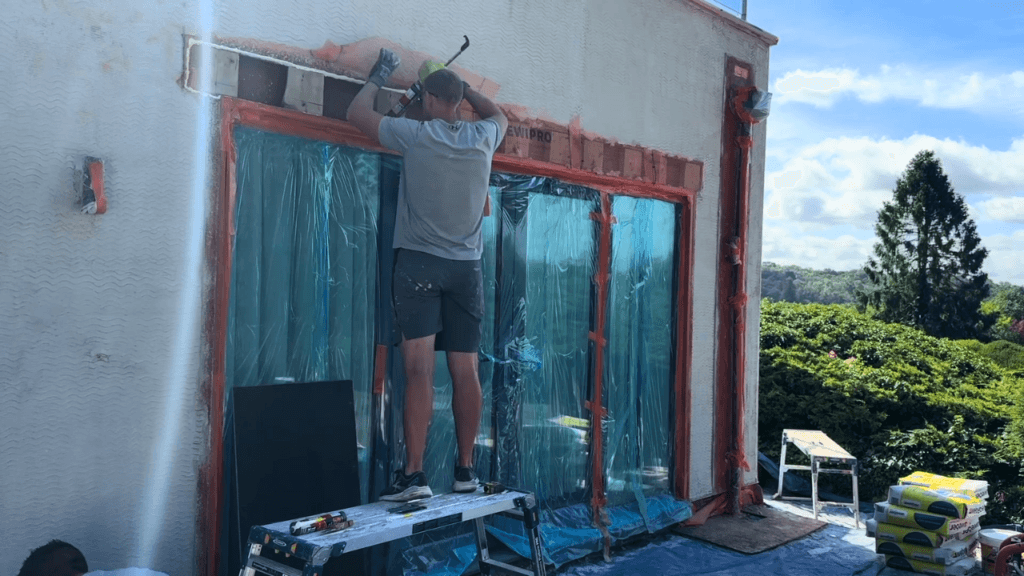
In the video, Daniel Lee from Daniel Lee Plastering and Rendering showcases a practical, no-fuss technique to protect a steel beam using insulated cement board—a trusted material for both indoor and outdoor projects.
Step-by-Step Breakdown
- Choose Your Cement Board:
- Go for XPS insulation cement board or hardie backer board. These materials are moisture-resistant and ideal for exterior use.
- Cut and Fit the Board:
- Measure and cut the board to size, ensuring it covers the steel surface completely.
- Screw Into Position:
- Secure the board into the surrounding framework or timber using appropriate galvanized or stainless steel screws to avoid future rusting.
- Seal the Edges Thoroughly:
- To prevent any water ingress, apply a high-quality sealant around all seams and screw holes. This step is critical to protect the steel from any hidden moisture that might creep in.
- Final Touch:
- Once everything is sealed and dry, the area is ready for rendering. You’ve now created a foolproof waterproof barrier around the RSJ.
Why This Method Works
This method is both cost-effective and efficient, ideal for tight timelines and professional-grade results. By combining physical protection (cement board) with chemical defense (sealant), you’re giving the steel the best chance at long-term durability.
Bonus Tip: Always inspect your sealant work after drying. Even small gaps can compromise the entire protection system.
When to Use This Hack
- During home extensions involving steel frameworks
- Garage conversions or outdoor render projects
- Anywhere steel beams are exposed to potential moisture
Whether you’re a seasoned renderer or just starting out, mastering this prep technique adds a layer of professionalism to your work.
Final Thoughts
Rendering around steel doesn’t have to be risky. With just a bit of cement board, some sealant, and the right technique, you can ensure that your projects remain solid, safe, and sealed for years to come.
Watch the Full Tutorial
Want to see this method in action?
Let’s Hear From You!
Have your own tips for protecting steel in rendering projects? Tried this method before?
Share your thoughts in the comments below, and don’t forget to follow for more expert plastering and rendering tips.


