Get 10% descount on first project
How to Apply a Scratch Coat: A Step-by-Step Guide

Introduction
Applying a scratch coat is a crucial step in the rendering process, providing a solid foundation for the final finish. Whether you’re working on a garden wall or a building facade, a properly applied scratch coat ensures durability, adhesion, and a smooth surface for subsequent layers. In this comprehensive guide, we’ll walk you through the entire process of applying a scratch coat, from surface preparation to finishing touches. Whether you’re a DIY enthusiast or a professional renderer, these expert tips will help you achieve the best results.
What is a Scratch Coat?
A scratch coat is the first layer of a two-coat rendering system. It consists of sand, cement, and additives that create a rough surface (or key) for the top coat to adhere to. The key to a strong, long-lasting render lies in the proper application of the scratch coat.
Why is a Scratch Coat Important?
- Enhances adhesion: The rough texture provides a better grip for the final coat.
- Levels the surface: Helps in evening out imperfections in the base wall.
- Prevents cracking: Distributes tension evenly, reducing the chances of cracking in the top coat.
Tools & Materials Needed
Before starting, ensure you have the following materials and tools:
Materials:
- One-coat render (e.g., Weber brand)
- Sand and cement mix (if mixing manually)
- Water (5-6 liters per bag of render)
- Red Universal primer
- Reinforcement mesh (160G grade)
- PVC or stainless steel beads (avoid galvanized beads)
Tools:
- Hawk and trowel
- Mixing drill (e.g., DeWalt)
- Large mixing tub (100-110L capacity)
- Straight edge (6-7 feet preferred)
- Utility knife or scissors
- Sponge or paintbrush (for final cleaning)
Step-by-Step Process for Applying a Scratch Coat
Step 1: Surface Preparation
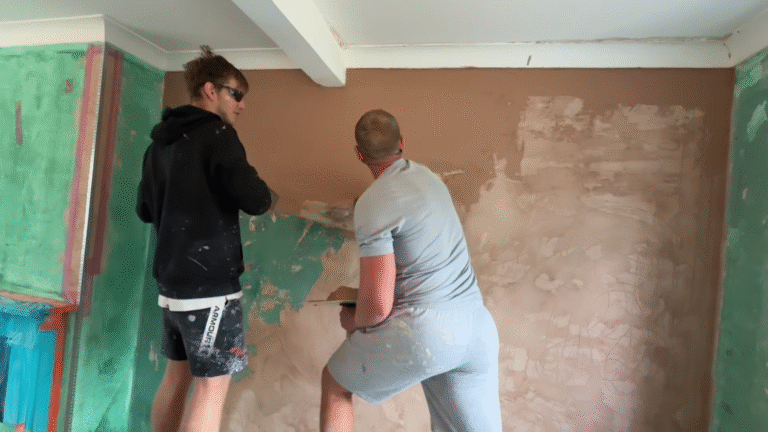
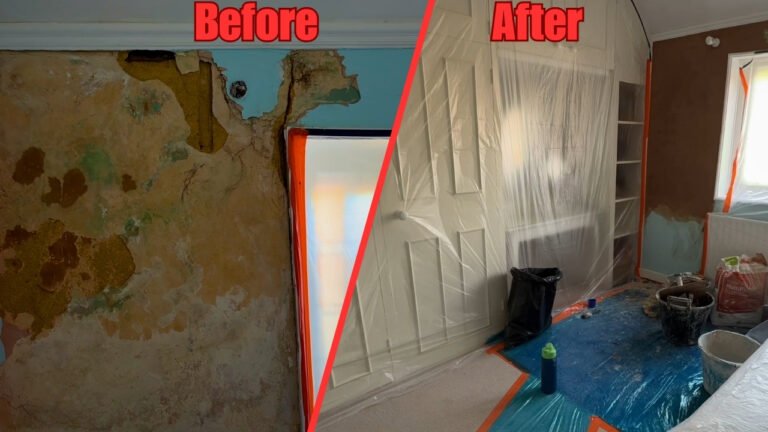
- Remove old render: If there is an existing render, remove it completely to expose the bare surface.
- Clean the wall: Remove any dirt, dust, or loose debris.
- Apply primer: Use a red Universal primer for better adhesion and water resistance. Allow it to dry completely before proceeding.
- Ensure dryness: If the wall was previously damp, allow sufficient drying time (weeks if necessary) before applying the scratch coat.
Step 2: Mixing the Render
- Use a pre-mixed render (such as Weber’s one-coat render) for convenience.
- Add 5-6 liters of water per bag into the mixing tub.
- Use a high-powered drill to mix up to five bags at a time.
- Achieve the right consistency: The mixture should be thick but spreadable.
Step 3: Applying the Scratch Coat
- Start from the right corner: If you’re right-handed, this will help you press the render into itself, reducing material loss.
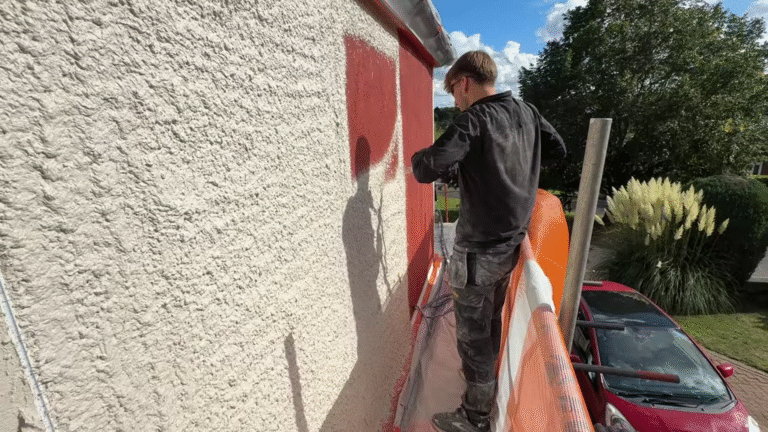
- Apply a generous layer: Spread the render over the wall, ensuring even coverage.
- Use a trowel and straight edge: Smooth out the surface while keeping the material behind the beads.
- Embed reinforcement mesh:
- Cut the mesh to size and place it onto the wet render.
- Press it gently into the surface using your hands.
- Use a trowel to firmly embed it.
- Overlap mesh strips by at least 100mm for a seamless application.
Step 4: Creating the Scratch Pattern
- Apply a second thin coat over the mesh (8-10mm behind the beads).
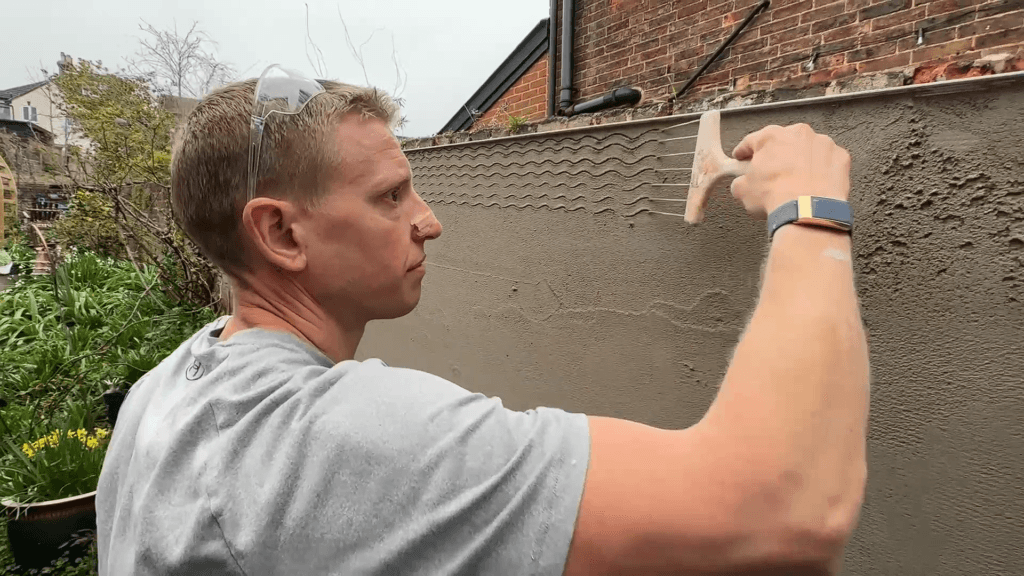
- Use a scratch comb to create a key:
- Draw horizontal wavy lines across the surface.
- Avoid straight or vertical lines, as they provide less grip for the top coat.
- Ensure even spacing to maximize adhesion.
Step 5: Final Touches
- Clean the beads: Use a sponge or paintbrush to wipe excess render from PVC or stainless steel beads.
- Tidy up the floor line: Use a trowel to scrape off any extra render along the bottom edge of the wall.
- Allow to cure: Let the scratch coat dry completely before applying the top coat.
Common Mistakes to Avoid
- Using galvanized beads outdoors: They rust over time, weakening the render.
- Skipping reinforcement mesh: This can lead to cracking and reduced durability.
- Making straight key lines: Always use wavy lines for better adhesion.
- Applying render too thinly: Ensure at least 8-10mm thickness for a strong base.
- Not allowing enough drying time: Rushing to apply the top coat can cause bonding issues.
Conclusion
Applying a scratch coat is a fundamental step in rendering that ensures a strong, smooth, and long-lasting finish. By following these step-by-step instructions and expert tips, you can achieve a high-quality render that will stand the test of time.
If you found this guide helpful, be sure to like, share, and comment with your questions or experiences. Stay tuned for more expert plastering and rendering tips!


