Get 10% descount on first project
Mastering Plastering: The Best Tapes, Tools & Techniques
Introduction
Plastering is both an art and a science. Whether you’re a professional tradesperson or a DIY enthusiast, achieving a smooth, long-lasting finish requires the right techniques, tools, and materials. One often-overlooked factor in plastering success is the choice of protective tapes and setup strategies.
In this comprehensive guide, we’ll explore the best tapes for plastering, essential tools, and expert techniques to ensure a flawless finish. From preparing surfaces to protecting delicate areas and applying plaster efficiently, we’ve got you covered.
Protecting Surfaces: The Role of Tape in Plastering
Why Proper Protection Matters
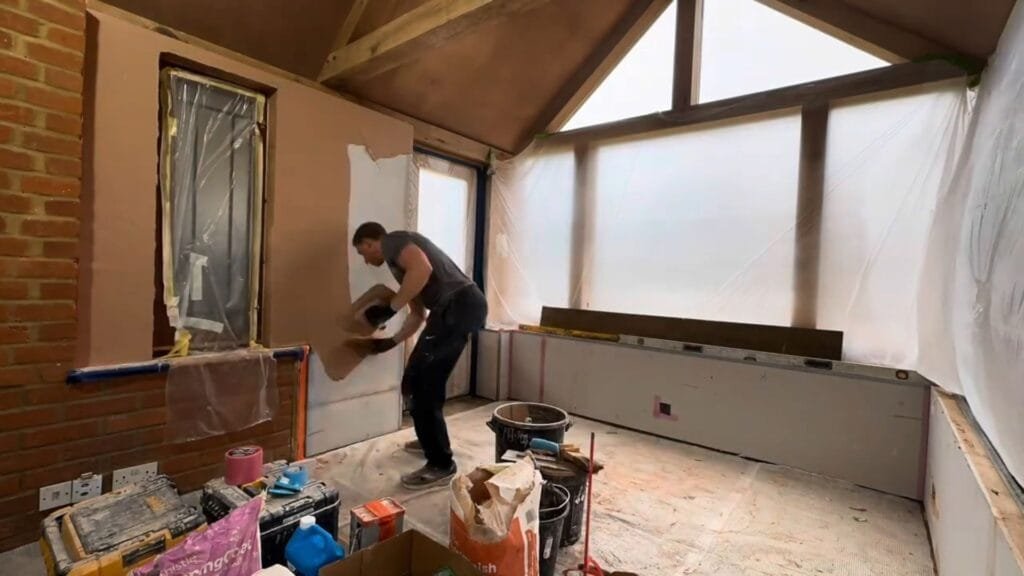
Before you even mix your first batch of plaster, it’s crucial to protect surrounding surfaces—especially delicate materials like wood, brick, and glass. Moisture and plaster splatter can lead to stains, damage, or unnecessary additional work.
Testing Different Tapes: What Works Best?
Through hands-on testing, various tapes have shown different levels of effectiveness:
- Frog Tape (Green): Excellent adhesion and water resistance, preventing seepage and leaving a clean edge.
- Standard Masking Tape: Decent for dry areas but absorbs moisture, leading to potential staining or peeling.
- Duct Tape (Cloth Tape): Strong adhesion but leaves sticky residue, making it unsuitable for delicate surfaces.
- Brick Tape: Ideal for sticking onto rough surfaces like brick; superior hold compared to standard duct tape.
Pro Tip: For wood protection, the green Frog Tape was the standout performer, effectively keeping plaster off and preventing staining from moisture exposure.
Setting Up for Success: Tools & Equipment
Essential Plastering Tools
To achieve a professional finish, having the right tools is just as important as using the right materials. Here’s what you’ll need:
- Trowels: Stainless steel plastering trowels for smooth application, plus a rounded trowel for finishing intricate corners.
- Hawk Board: A lightweight, ergonomic surface for holding mixed plaster.
- Mixing Buckets & Drill Mixer: Ensures a lump-free, consistent plaster mix.
- Scrim Tape (Fiberglass Mesh Tape): Strengthens joints and prevents cracks in plasterboard seams.
- Beading & Angle Beads: Provides structure for corners and edges.
- Protective Gear: Gloves, masks, and goggles to keep safe from dust and chemicals.
Setting Up Scaffolding & Work Platforms
When working on high ceilings or large walls, proper access is essential. A combination of band stands and platforms allows for stable positioning, making it easier to apply plaster evenly at different heights.
Plastering Techniques for a Professional Finish
Step 1: Surface Preparation
Before applying plaster, ensure surfaces are clean, dry, and free of dust or debris. Use scrim tape to reinforce weak areas and apply angle beads for sharp, defined corners.
Step 2: Mixing & Applying Plaster
- Use a mechanical mixer to achieve a smooth, lump-free consistency.
- Apply a first coat with firm, even strokes, covering the entire surface.
- Speed Skim or Wet Trowel: Smooth out rough patches before applying the second coat.
- Allow the first coat to firm up before applying the second coat for a polished finish.
Step 3: Timing & Setting Adjustments
Plaster setting times vary depending on room temperature and humidity. To speed up the process in colder conditions, products like Half Time can reduce curing time from 3+ hours to approximately 1.5-2 hours, making the workflow more efficient.
Step 4: Finishing & Detailing
- Socket Cutouts: Ensure plaster is properly set around electrical sockets by reinforcing with scrim tape and carefully cutting out excess plaster.
- Trowel Techniques: Use a flexible finishing trowel to achieve ultra-smooth surfaces.
- Sponging & Polishing: For detailed areas like tight corners, a damp sponge or paintbrush helps refine the finish.
Common Mistakes & How to Avoid Them
1. Using the Wrong Tape
- Avoid standard masking tape in high-moisture environments—it absorbs water and weakens.
- Opt for Frog Tape or Brick Tape for superior hold and minimal seepage.
2. Over-Mixing or Under-Mixing Plaster
- Solution: Use a mechanical mixer and follow the recommended water-to-plaster ratio for consistent texture.
3. Rushing the Second Coat
- Solution: Allow the first coat to set properly before applying the second. Speeding up the process can lead to poor adhesion and cracking.
4. Poor Socket Cutouts
- Solution: Reinforce with scrim tape, cut cleanly at the right stage, and ensure electrical fittings remain flush with the wall.
Final Thoughts: Choosing the Right Materials for the Job
Plastering is a skill that requires precision, patience, and the right materials. From selecting the best protective tape to mastering troweling techniques, every step contributes to a superior final result.
For the best results:
- Use Frog Tape for clean edges on wood and delicate surfaces.
- Invest in high-quality trowels and scrim tape for professional-grade application.
- Optimize drying times with Half Time for cold environments.
- Follow step-by-step preparation and application techniques to achieve a durable, smooth finish.
Join the Conversation!
Have a favorite plastering tape or tool that works best for you? Share your experience in the comments! Don’t forget to follow for more expert plastering tips and techniques.
By implementing these expert insights and product recommendations, you’ll be well on your way to mastering the art of plastering!


