Get 10% descount on first project
Quick Fix: External Sand & Cement Damp Proof Repair
Damp issues in your home or property can lead to severe structural problems if not addressed properly. One effective solution is using a sand and cement render with waterproofing properties to create a strong barrier against moisture. In this detailed guide, we’ll walk you through the entire process of repairing eroded external walls and damp-prone areas, ensuring a professional and durable finish.

Identifying the Problem
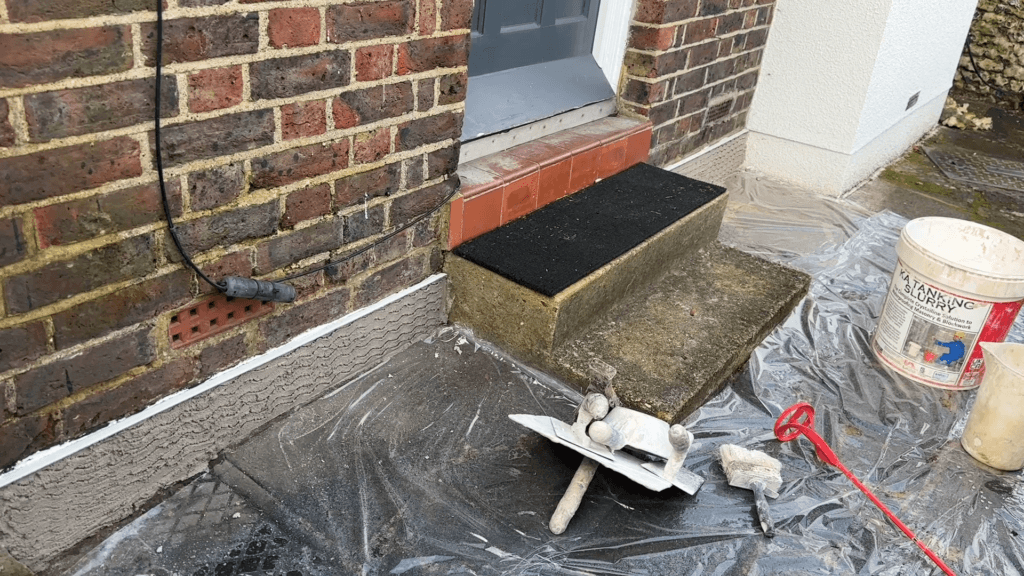
External walls are constantly exposed to harsh weather conditions, which can lead to erosion and dampness over time. In this project, we encountered a severely eroded plinth with plants growing in the cracks. The first step was to clear the debris, clean the surface, and apply a universal primer. This primer is crucial for preparing damp surfaces, allowing them to dry adequately and ensuring the subsequent layers bond effectively.
Tip: Allow enough drying time for the primer, especially in damp conditions. Patience at this stage prevents future complications.

Preparing the Scratch Coat
A strong waterproof scratch coat is the foundation of any damp-proofing render. For this repair, we used a mix of sand and cement, fortified with SPRs (Styrene-Butadiene Rubber) and liquid waterproofers. These additives not only improve the waterproofing properties but also enhance the durability of the render.

Mixing Guidelines:
- For every 25 kg of cement, add 250 ml of liquid waterproofer.
- Include SPR or a similar bonding agent in the water before adding it to the mix.
- Adjust water quantities to maintain the right consistency. For instance, if your mix requires 5 liters of water and you add 1 liter of waterproofer, reduce plain water to 4 liters.
This ensures your mix remains manageable without becoming too sloppy.
Cutting and Embedding Reinforcement Mesh
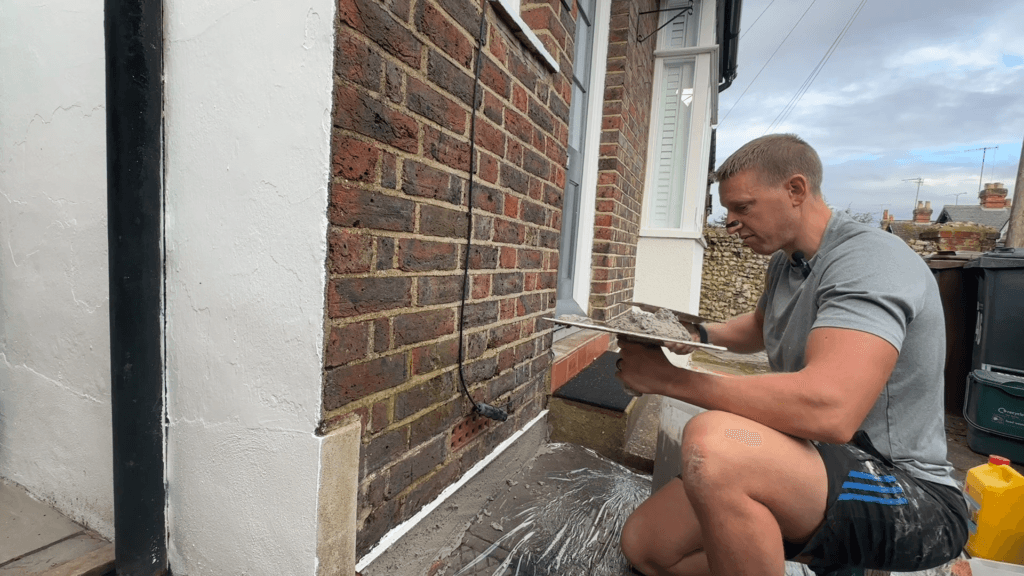
Before applying the scratch coat, cut reinforcement mesh to fit the surface area. The mesh is essential for bridging gaps and cracks, adding strength, and preventing future fractures.

How to Apply the Mesh:
- Once the scratch coat is applied, press the mesh into the wet render using your hands or a trowel.
- Ensure the mesh is fully embedded by smoothing over it with a plastic trowel.
- Add an additional 4-5 mm layer of render over the mesh, leaving enough thickness for the top coat later.

Applying the Scratch Coat
Consistency is key when applying the scratch coat. A well-mixed render should be easy to spread while staying firm enough to fill gaps and cavities effectively. Begin by filling deep holes, pressing the render firmly into the damaged areas. Once the surface is even, add the reinforcement mesh as described earlier.
To create a strong bond for the top coat, use a scratching tool to make wavy lines across the surface. Wavy lines provide a better key for the final layer compared to straight lines, increasing adhesion and durability.
Pro Tip: Protect the surrounding area with sticky plastic or tarpaulins to minimize cleanup time.


Allowing Time to Dry
The scratch coat needs 24 to 72 hours to dry, depending on the weather conditions. This drying period is crucial for ensuring the subsequent layers adhere well and prevent uneven drying or cracking.
Mixing and Applying the Top Coat
The top coat is what gives your render its final finish and durability. For this project, we used a Weber one-coat render, known for its consistency and ease of application.

Mixing Tips:
- Use a small paddle mixer for small batches to avoid splashes and ensure precise control.
- Wet your tools, such as the hawk and trowel, to prevent the render from sticking and forming clumps.
- Roll off the scratch coat to ensure an even base for the top coat. This prevents uneven drying and creates a smooth surface for the top layer.
When applying the top coat:
- Spread the render evenly across the surface using a trowel.
- Use a plastic float to smooth out any imperfections and achieve a consistent finish.
- For small areas, a power float can help identify and correct any hollows or lumps.


Adding Finishing Details
To protect the top bead from water accumulation, we added a small slope of render along the top edge. This ensures rainwater runs off the bead instead of pooling against the wall. Such attention to detail can make a big difference in the long-term performance of your render.

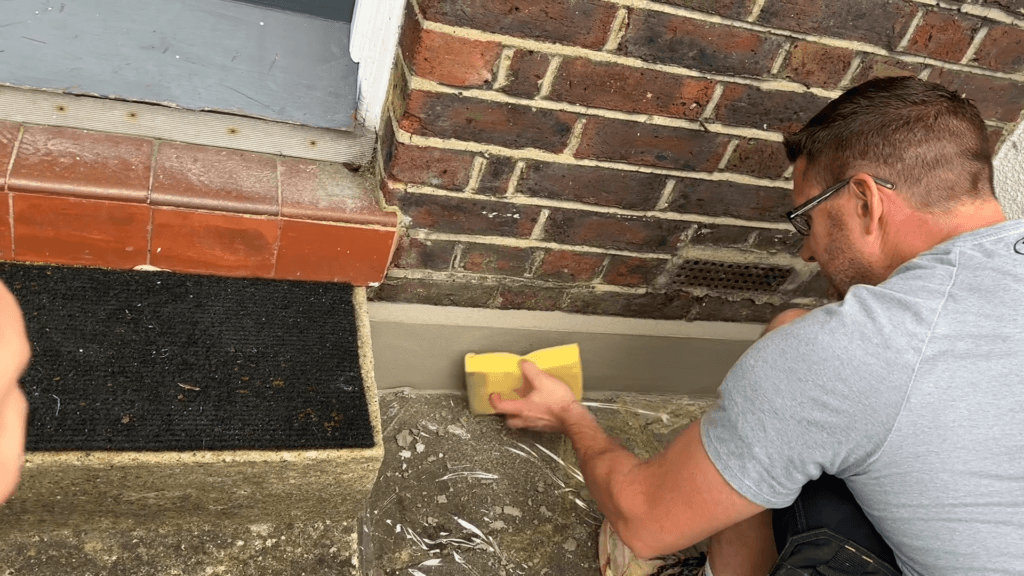
Sponge Finishing
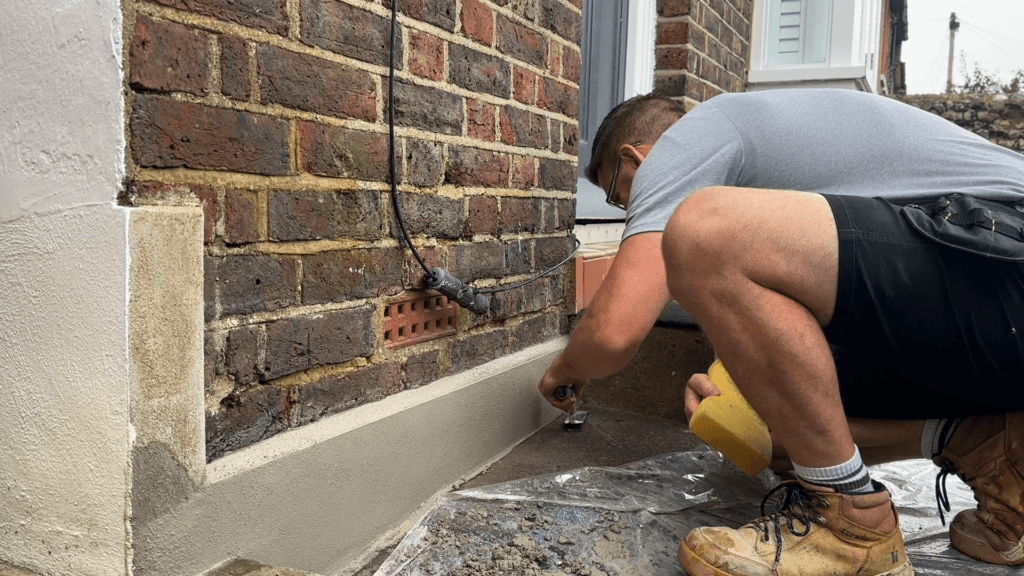
A damp sponge is ideal for achieving a smooth, flat finish. If the render starts drying too quickly, a wetter sponge can help bring it back to the desired consistency. This final step gives the render a clean, professional look.



Why Choose Sand and Cement Render?
Sand and cement render is a popular choice for damp-proofing due to its:
- Durability: With the right additives, it can withstand harsh weather conditions.
- Waterproofing Properties: Additives like SPR and liquid waterproofers create a robust barrier against moisture.
- Cost-Effectiveness: Materials are readily available and relatively affordable.
- Customizability: Can be tailored to specific needs with various additives and finishes.
Cleaning Up
A clean workspace ensures a professional finish. Sticky plastic, tarpaulins, or laminated cardboard can save hours of cleanup. Once the render is applied, remove protective coverings and dispose of any waste materials responsibly.
Final Thoughts
Repairing external damp-proof issues with sand and cement render is a practical and effective solution. Whether you’re a professional plasterer or a DIY enthusiast, following these steps will ensure a durable and visually appealing result. Remember, preparation is key, and attention to detail will save time and effort in the long run.
For more expert plastering and rendering tips, subscribe to my YouTube channel, Daniel Lee Smith. Your support helps us create better content and share valuable knowledge with viewers like you. Thanks for reading!

